
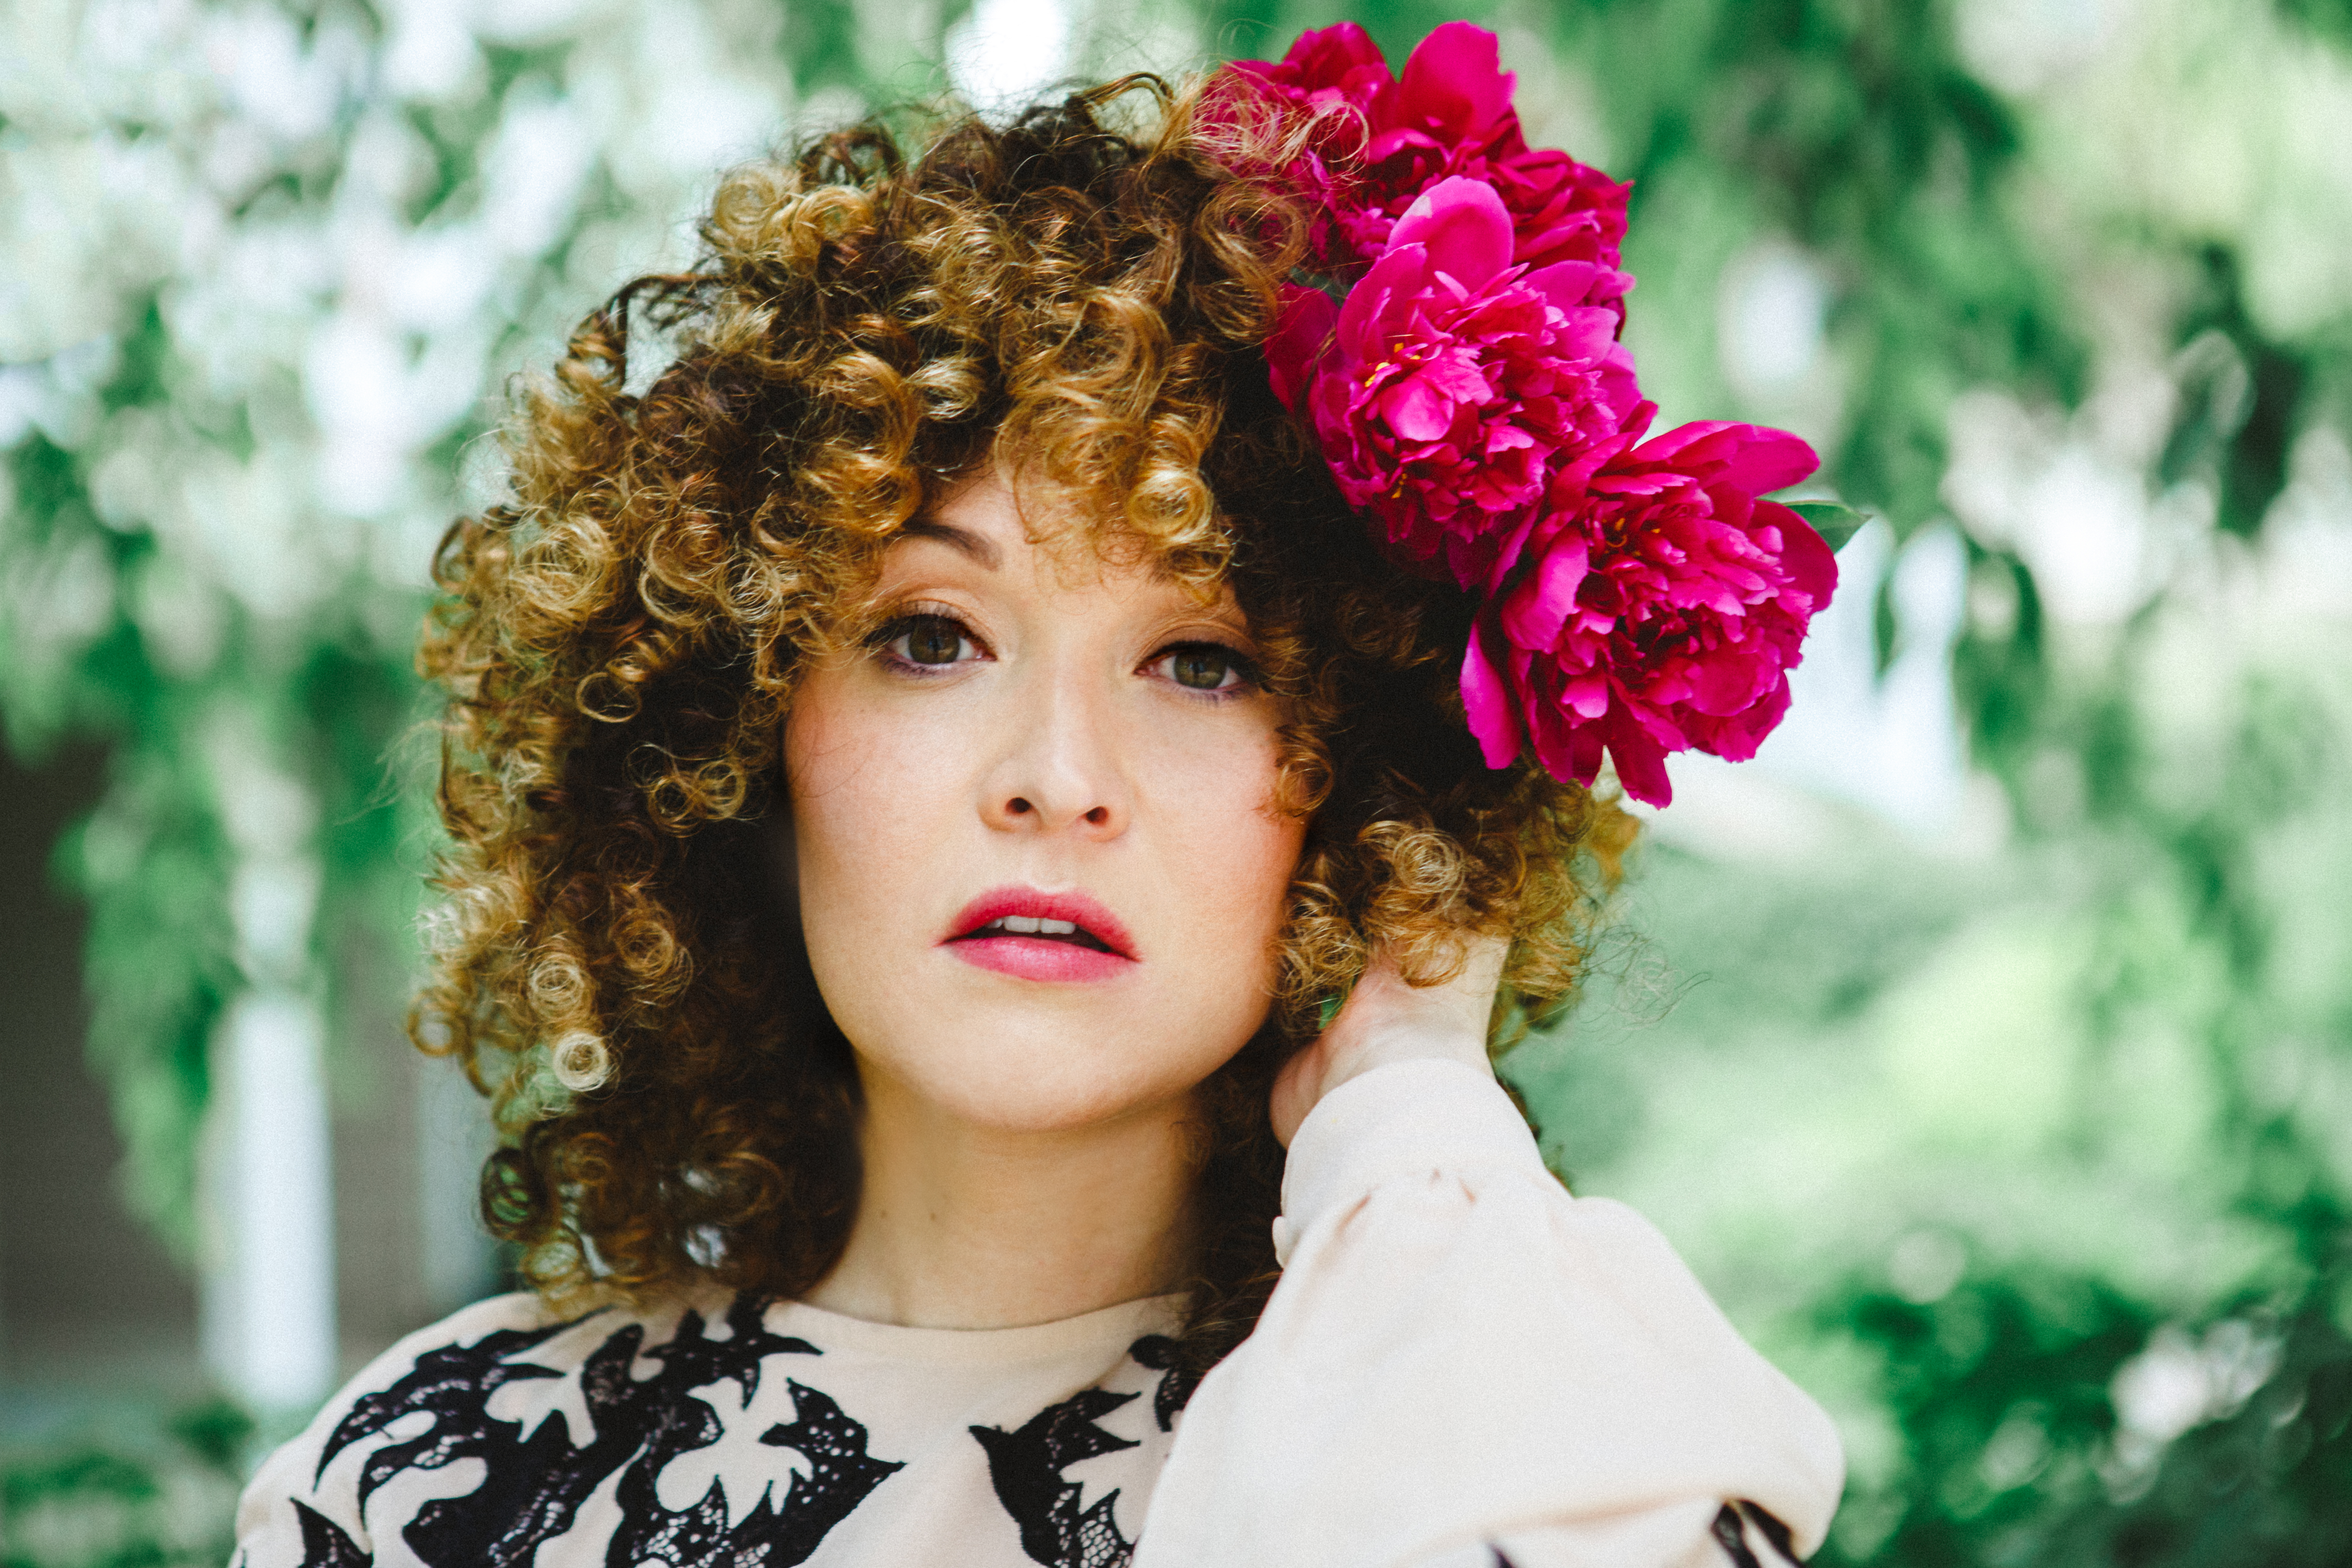
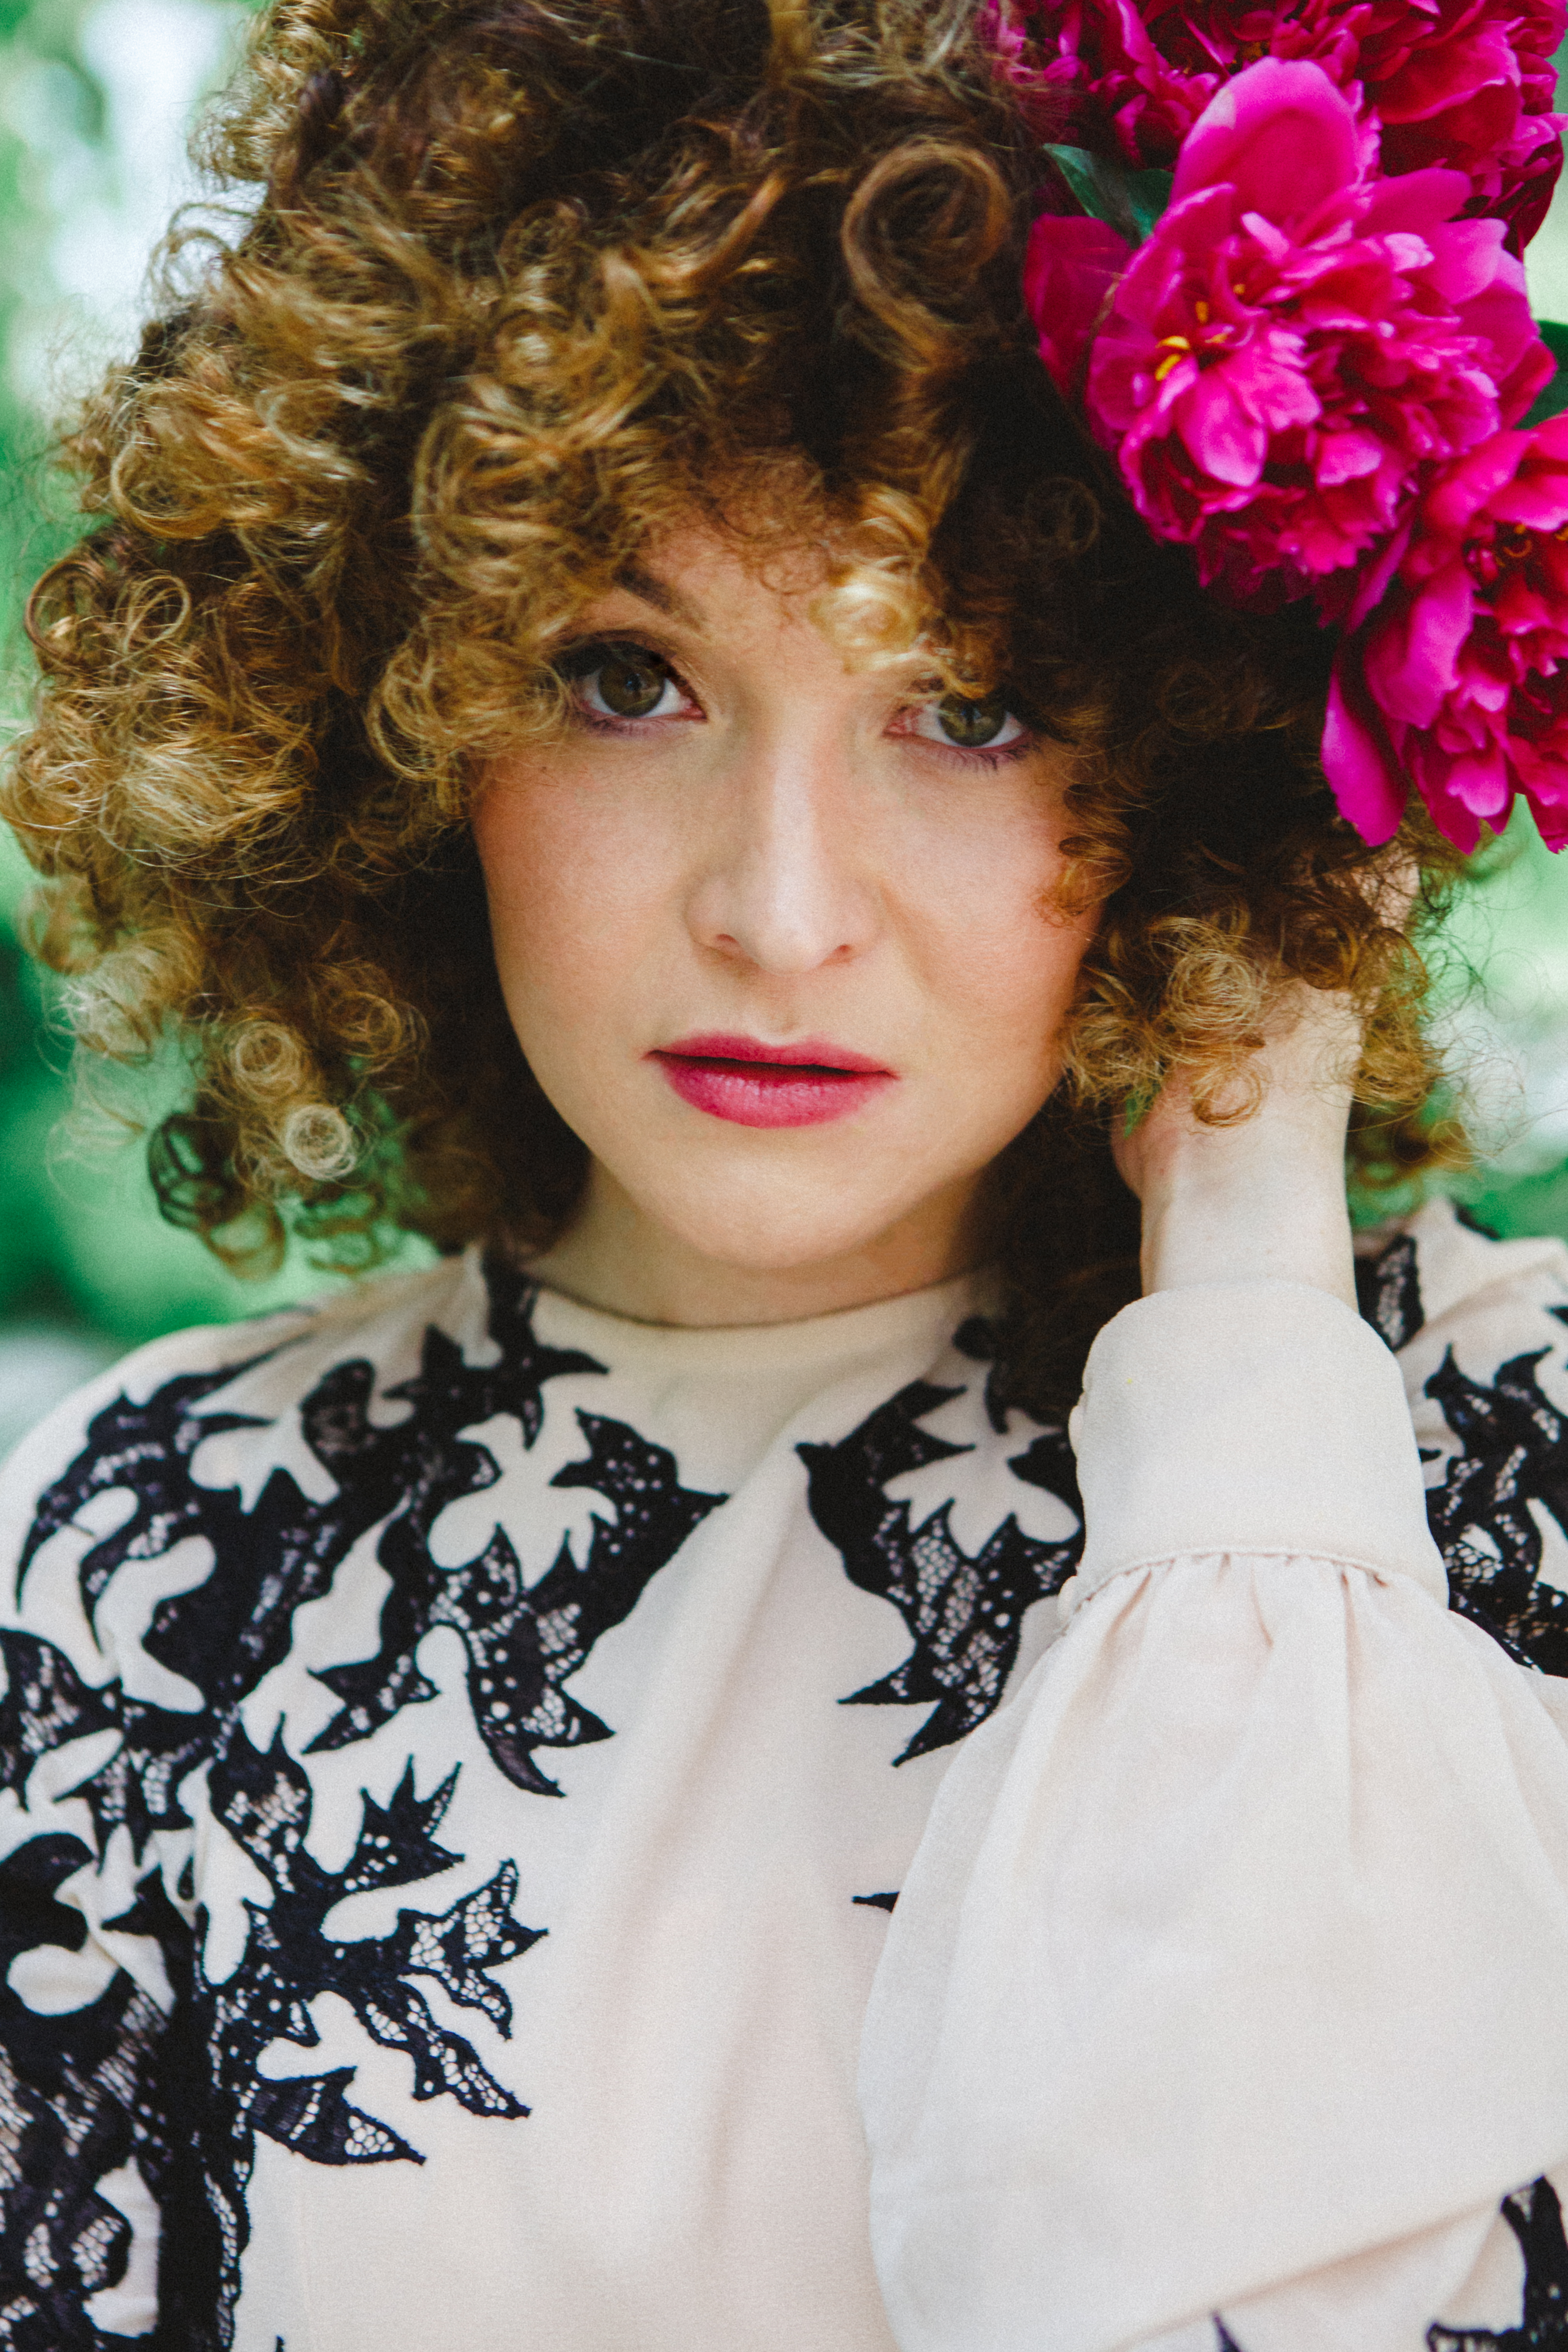
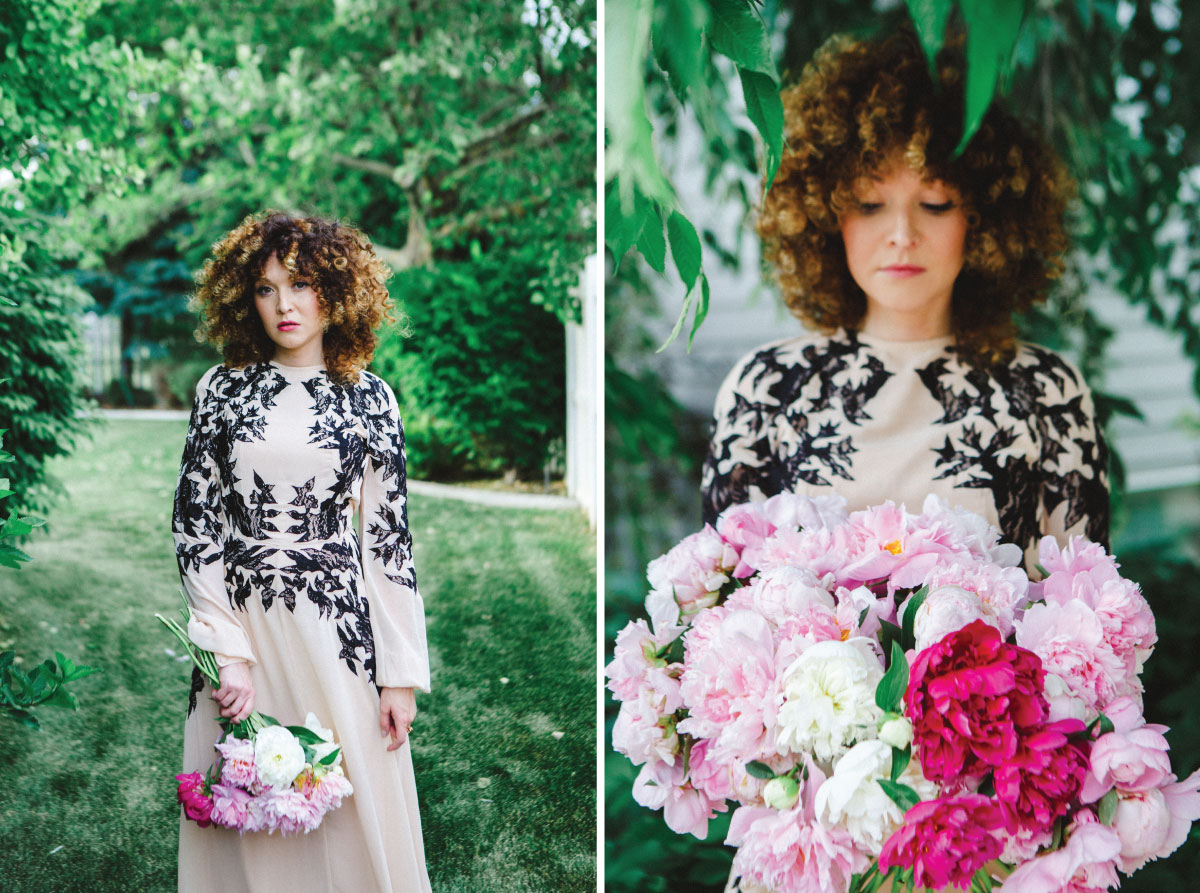
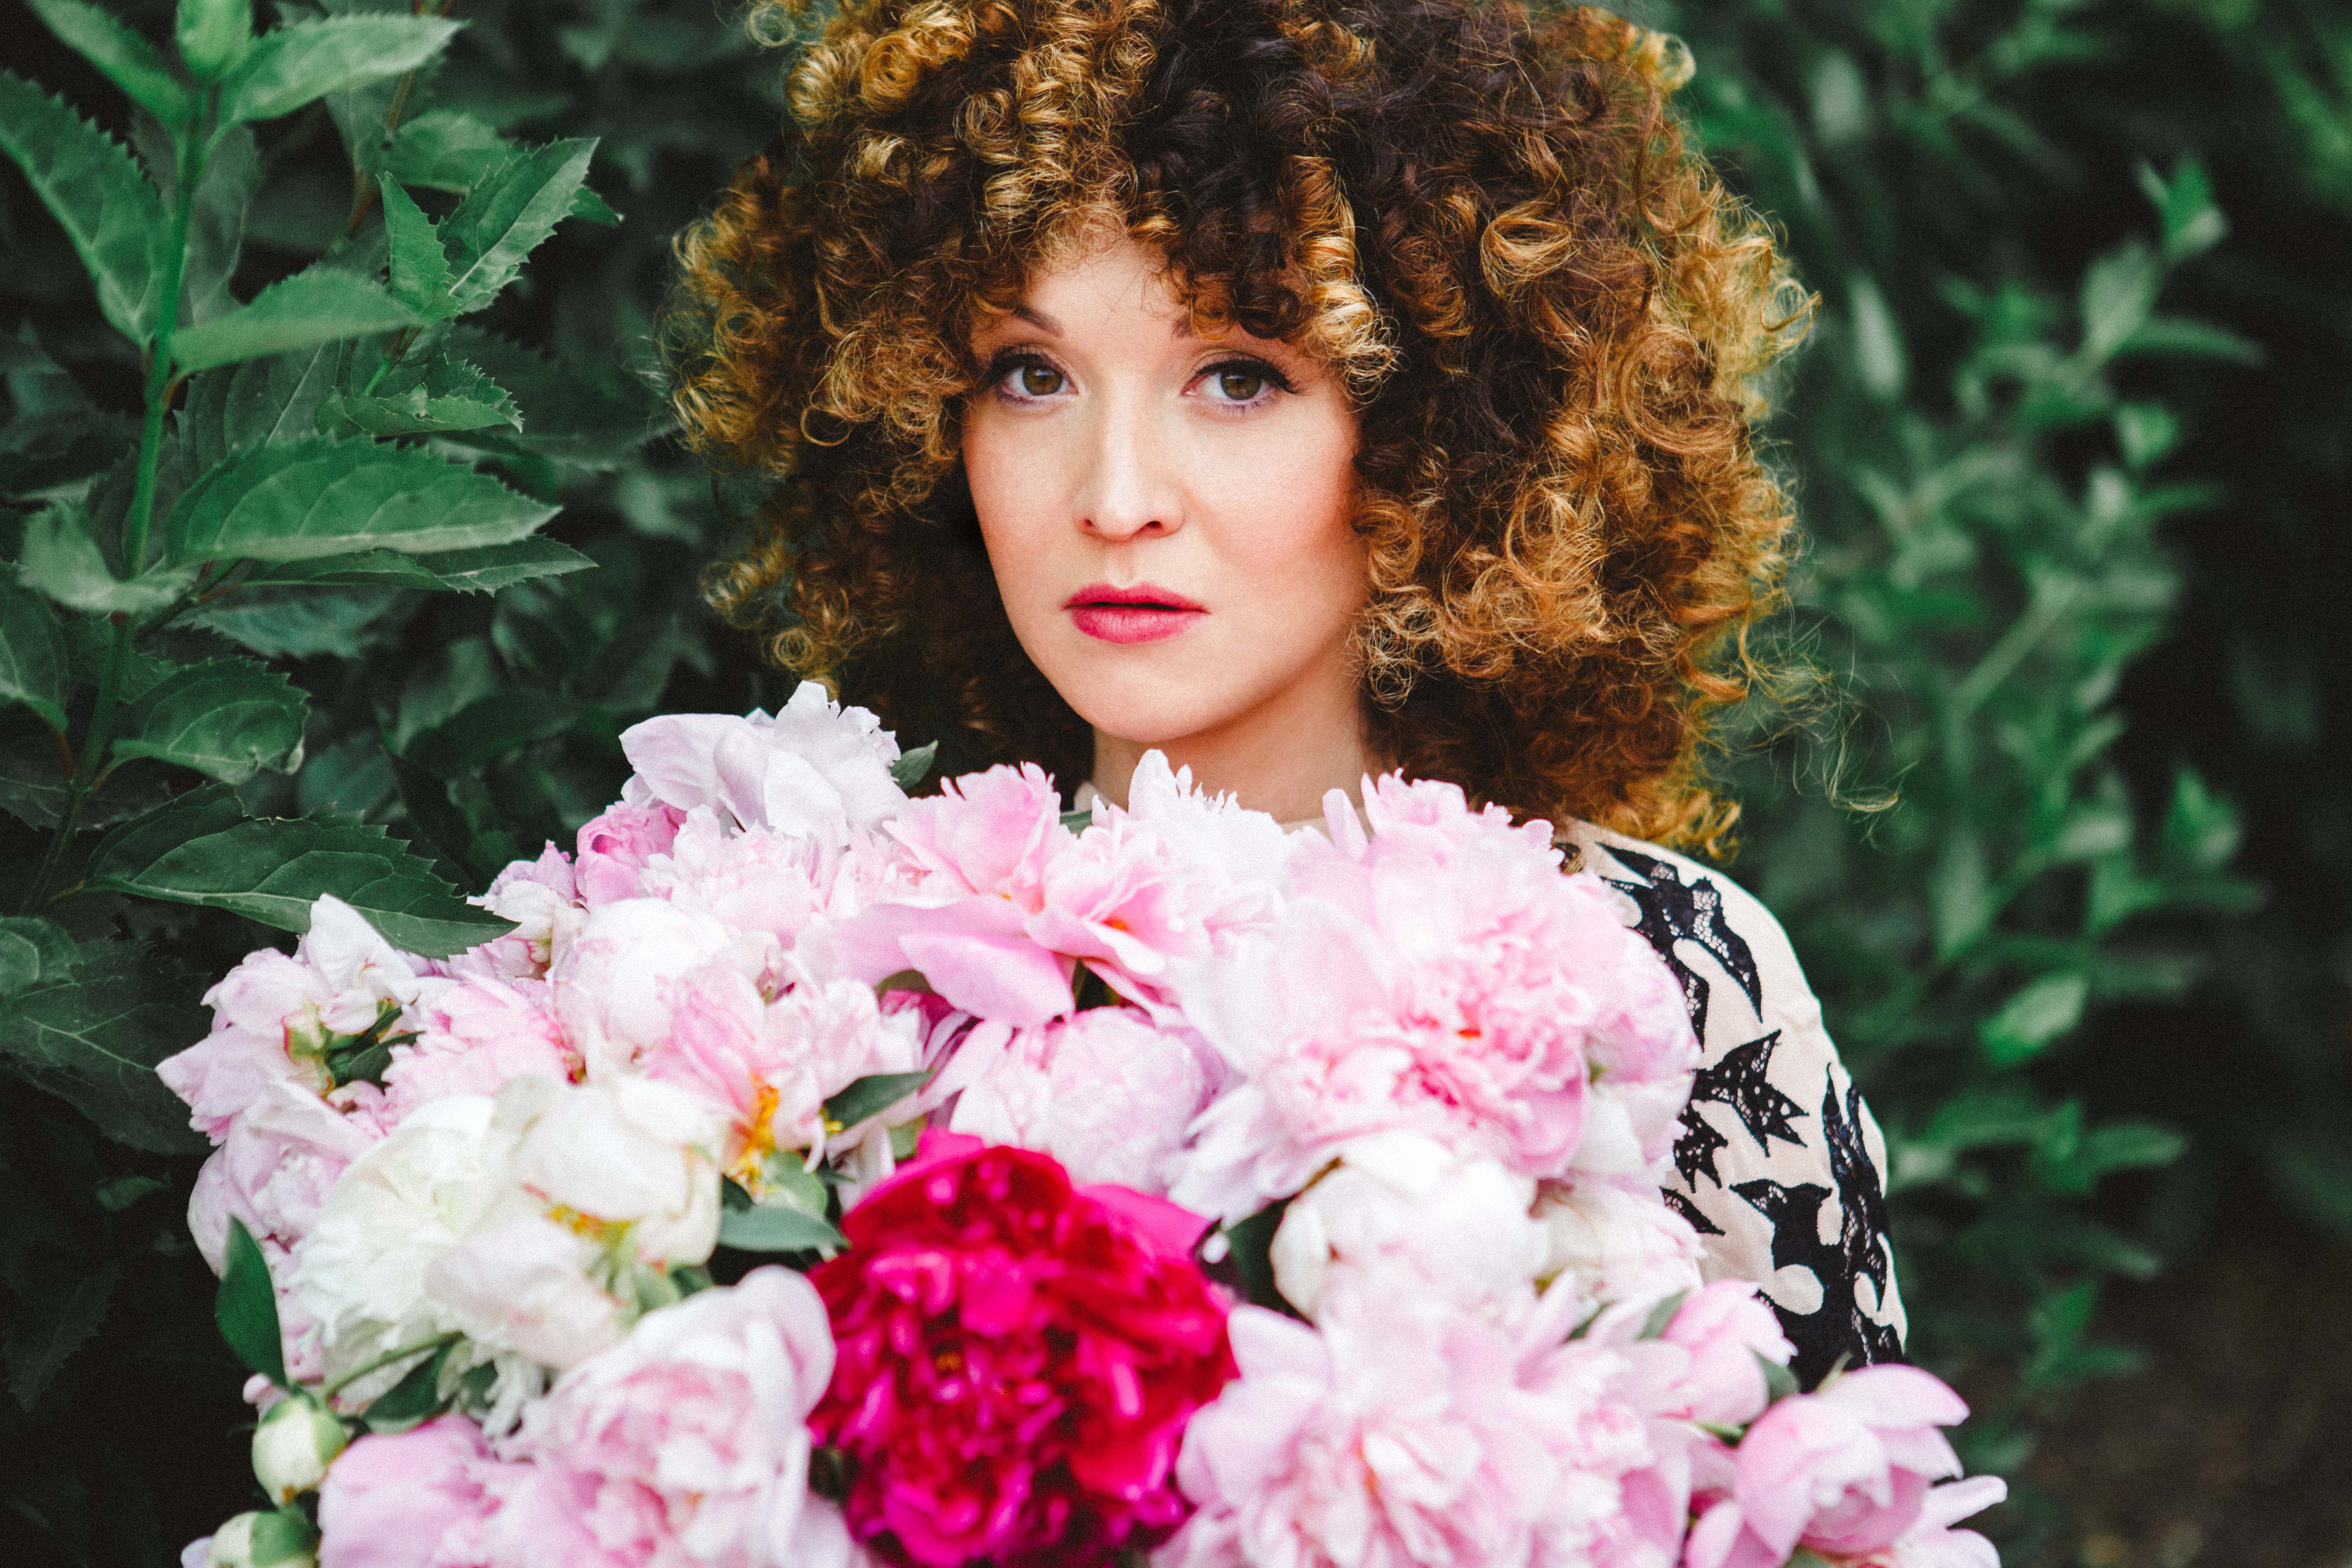
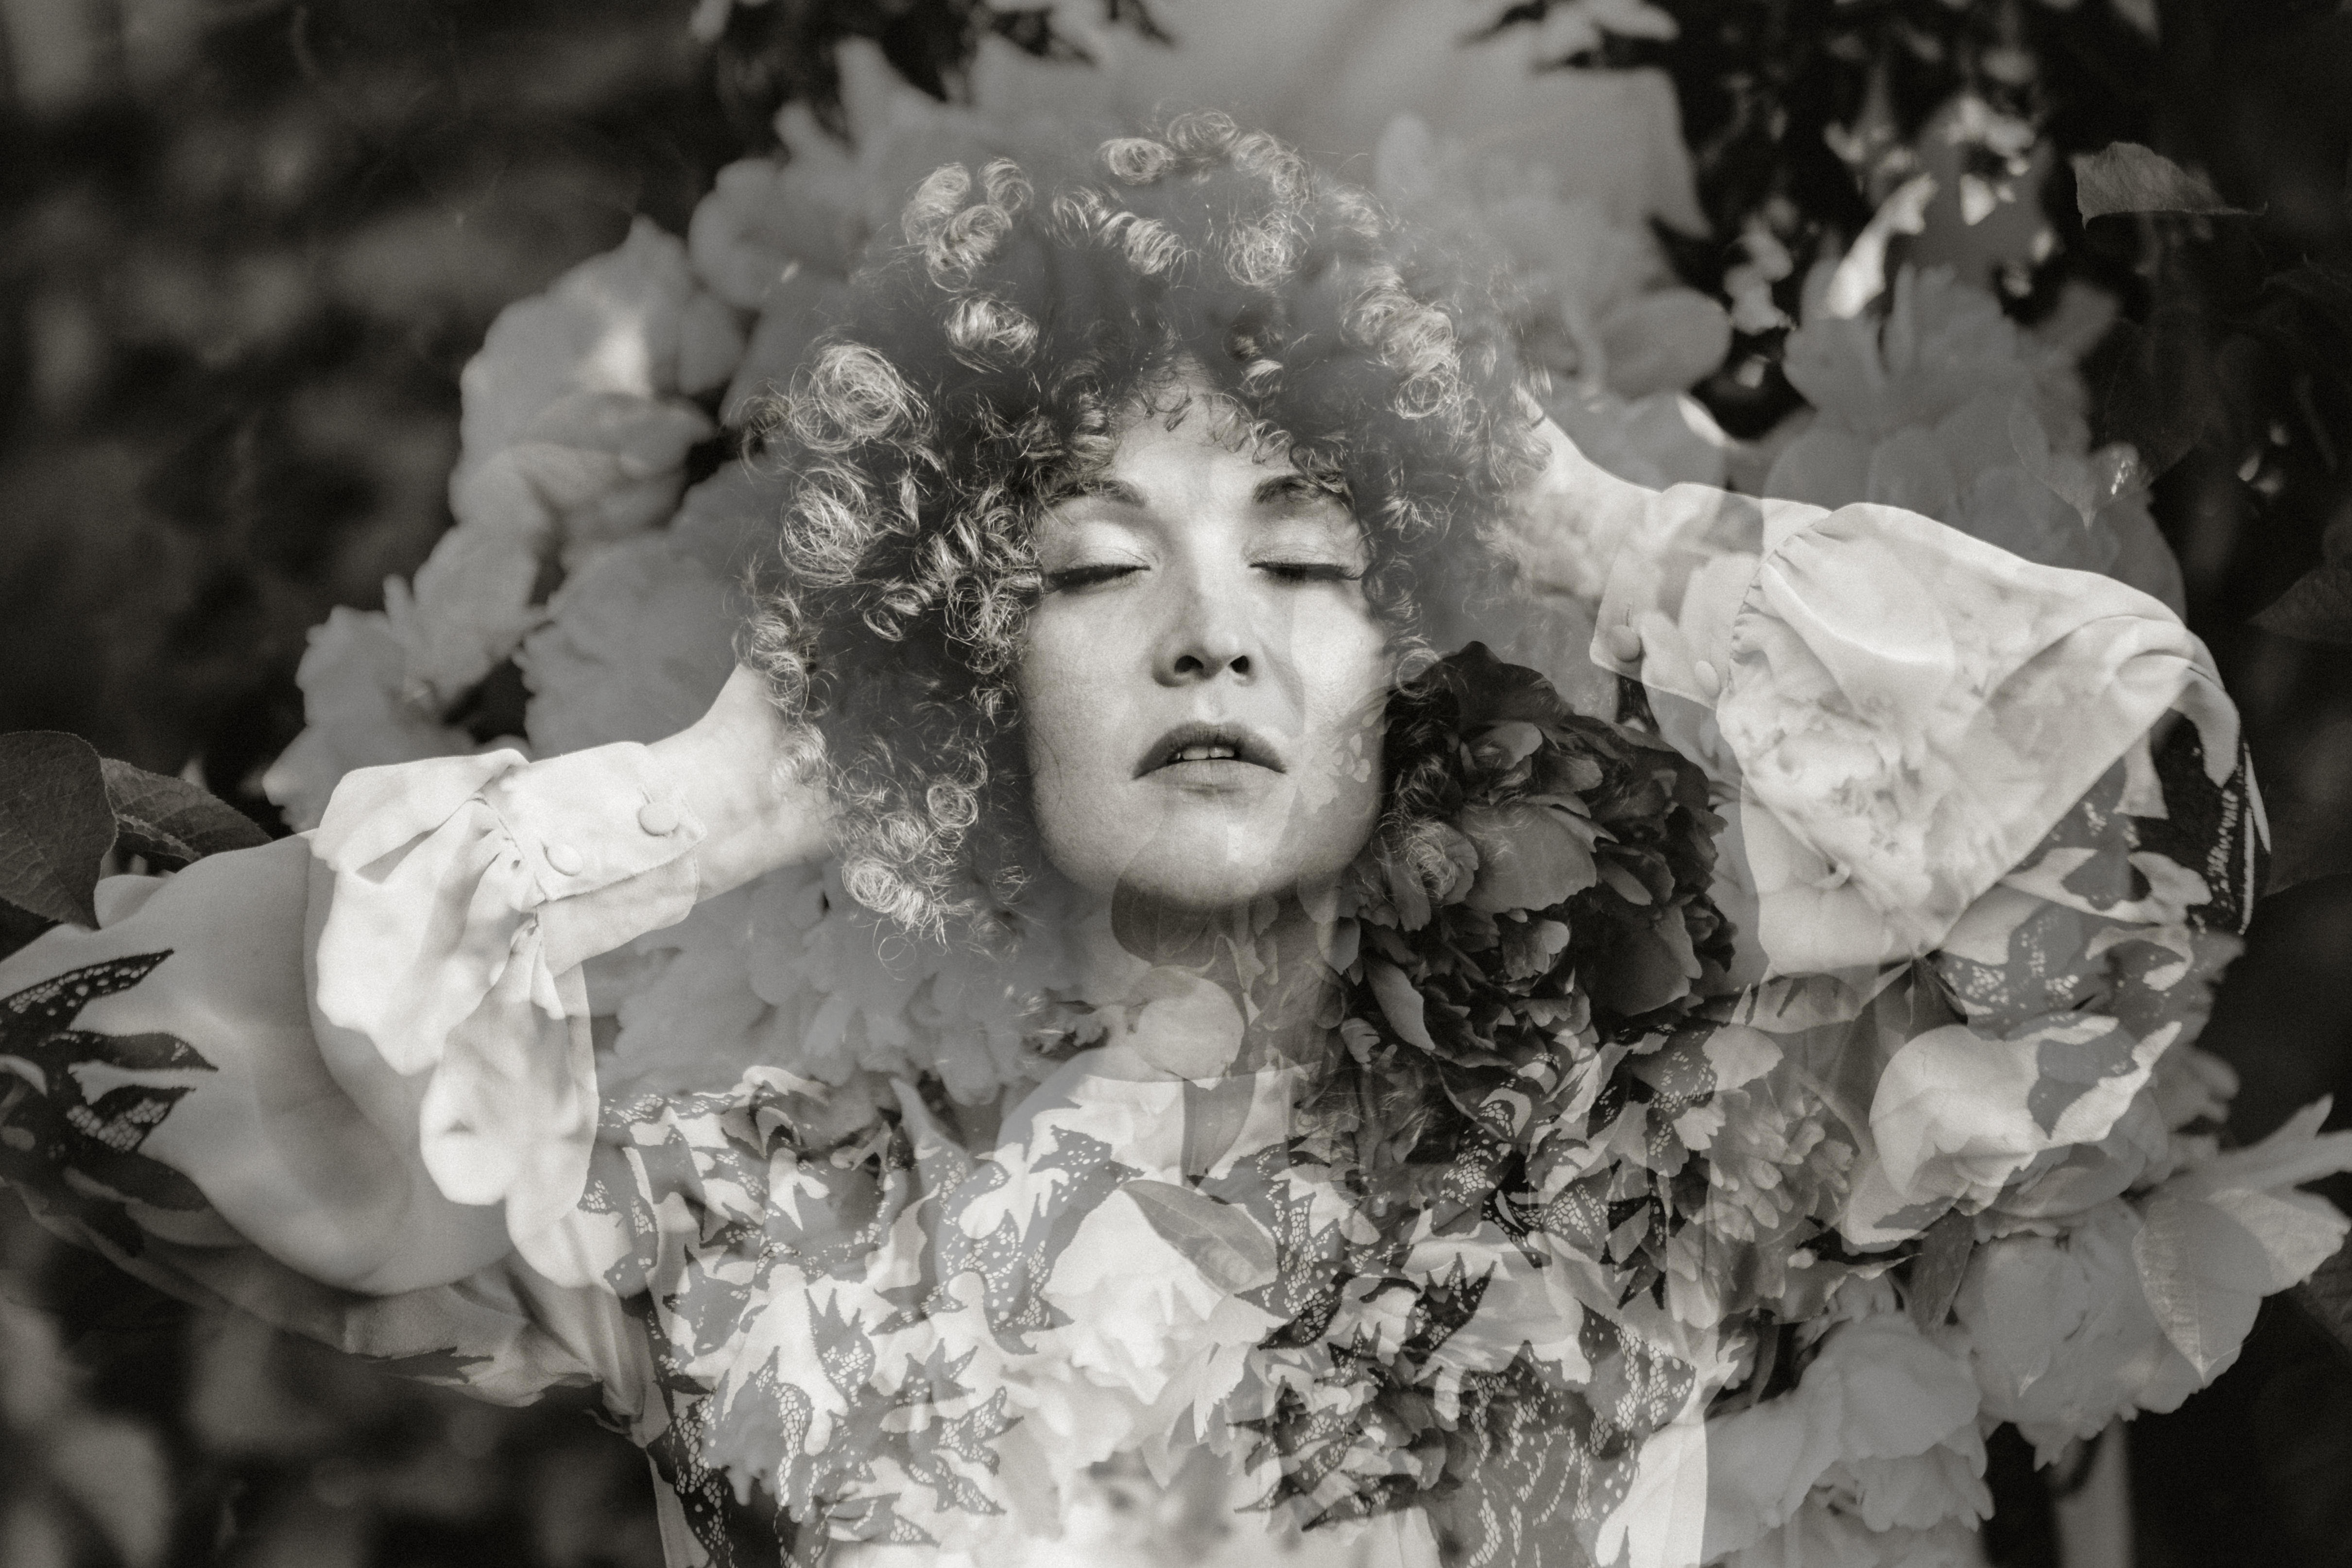
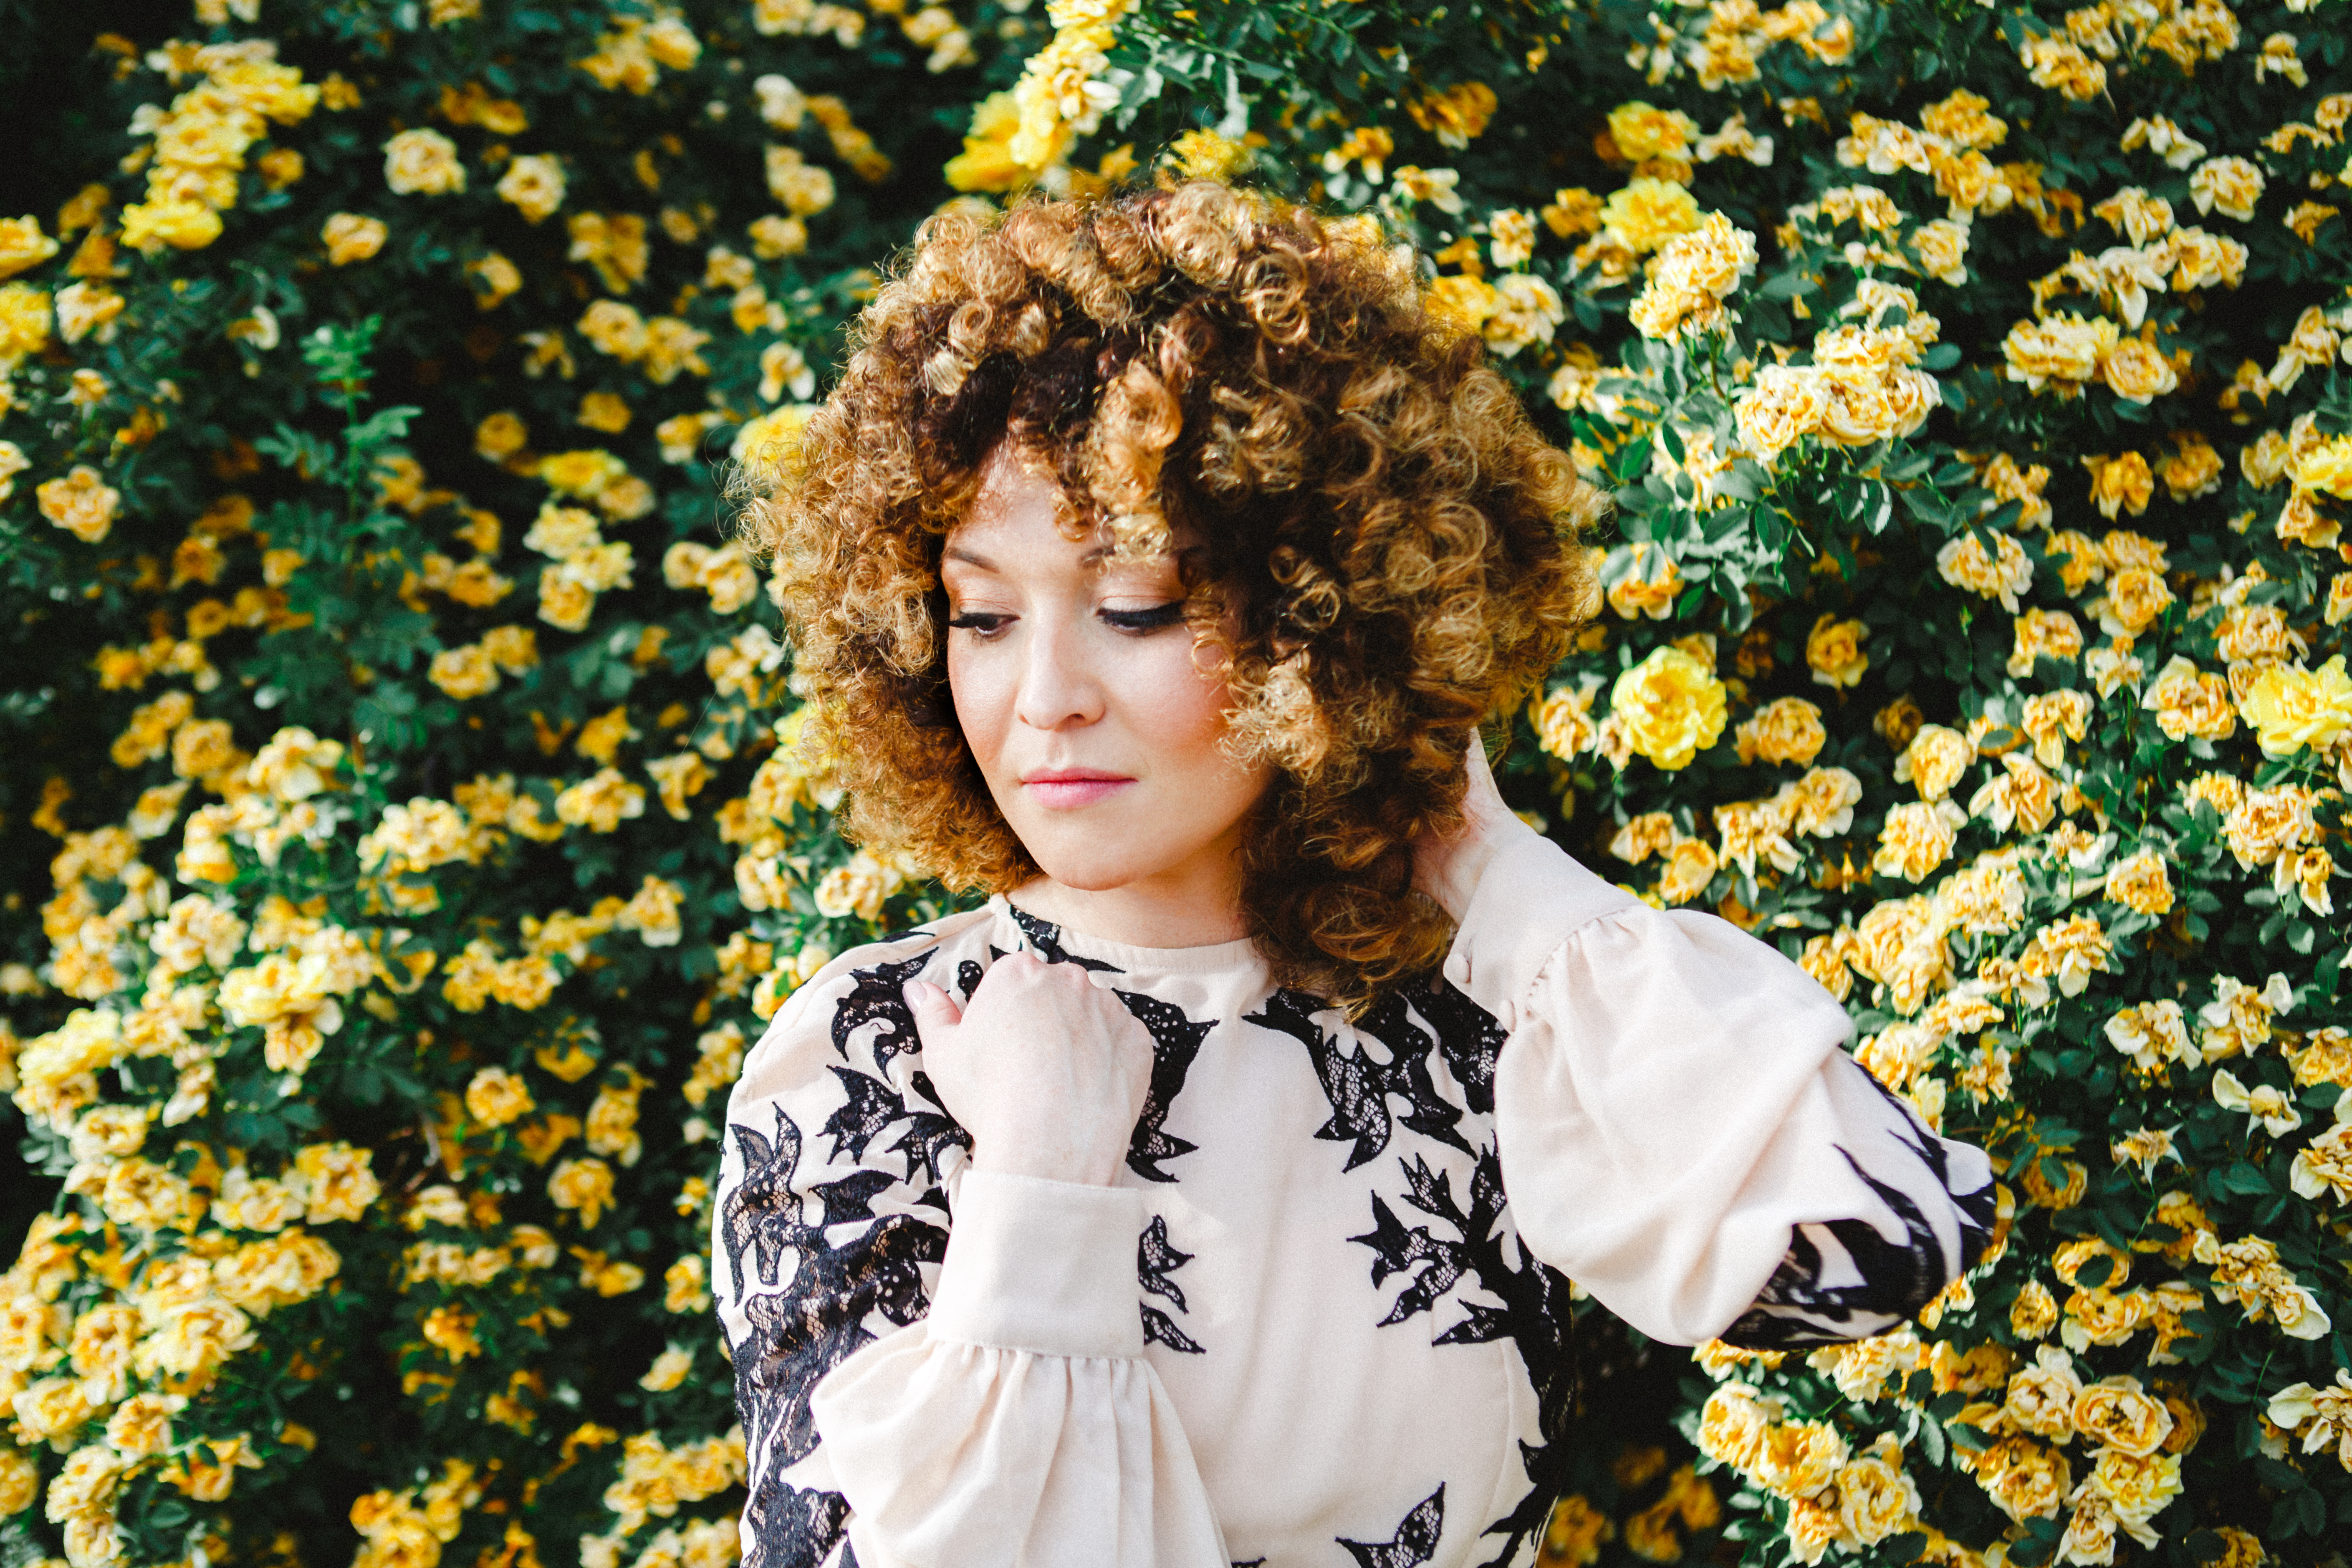

I love fro’s, I actually love all things hair and since I have a ton of it I like to try new things. Last summer I did my hair in these tiny sponge curlers and when I took them out it was quite a site to see, tiny ringlets made up a HUGE fro on my head. I was a little nervous to walk around in public but I soon embraced it and pretended I was a white, freckled version of Beyonce.
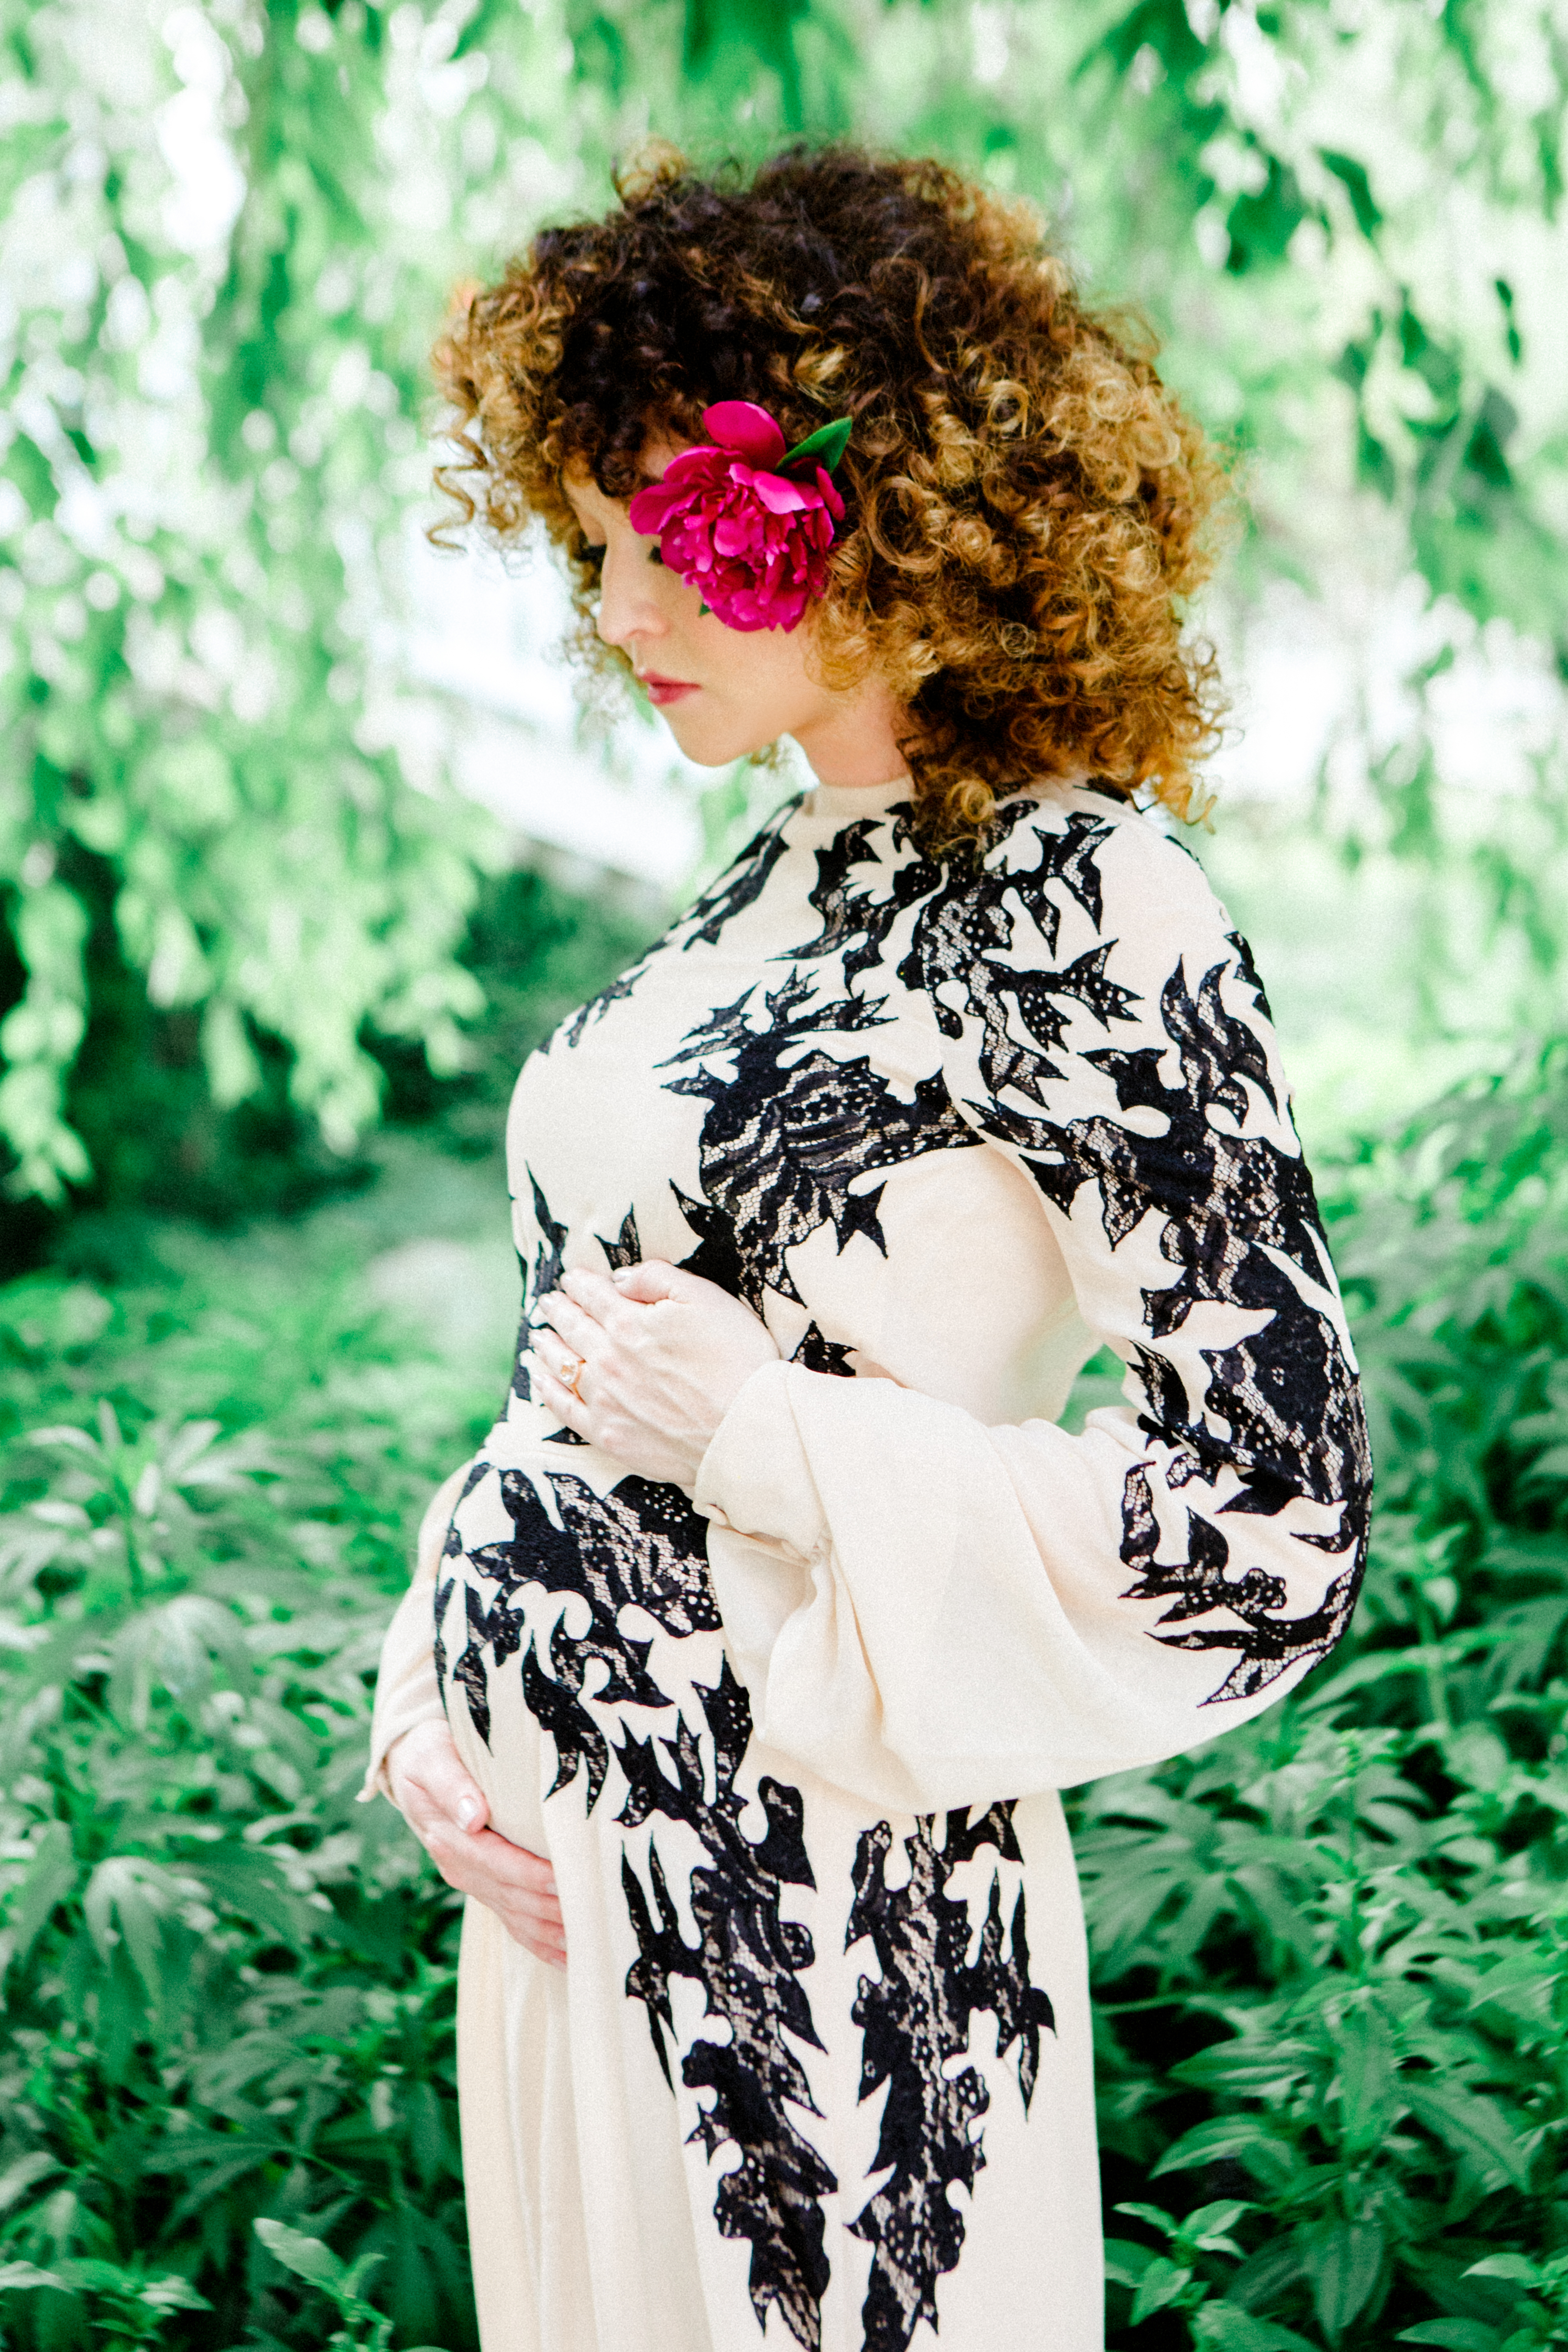
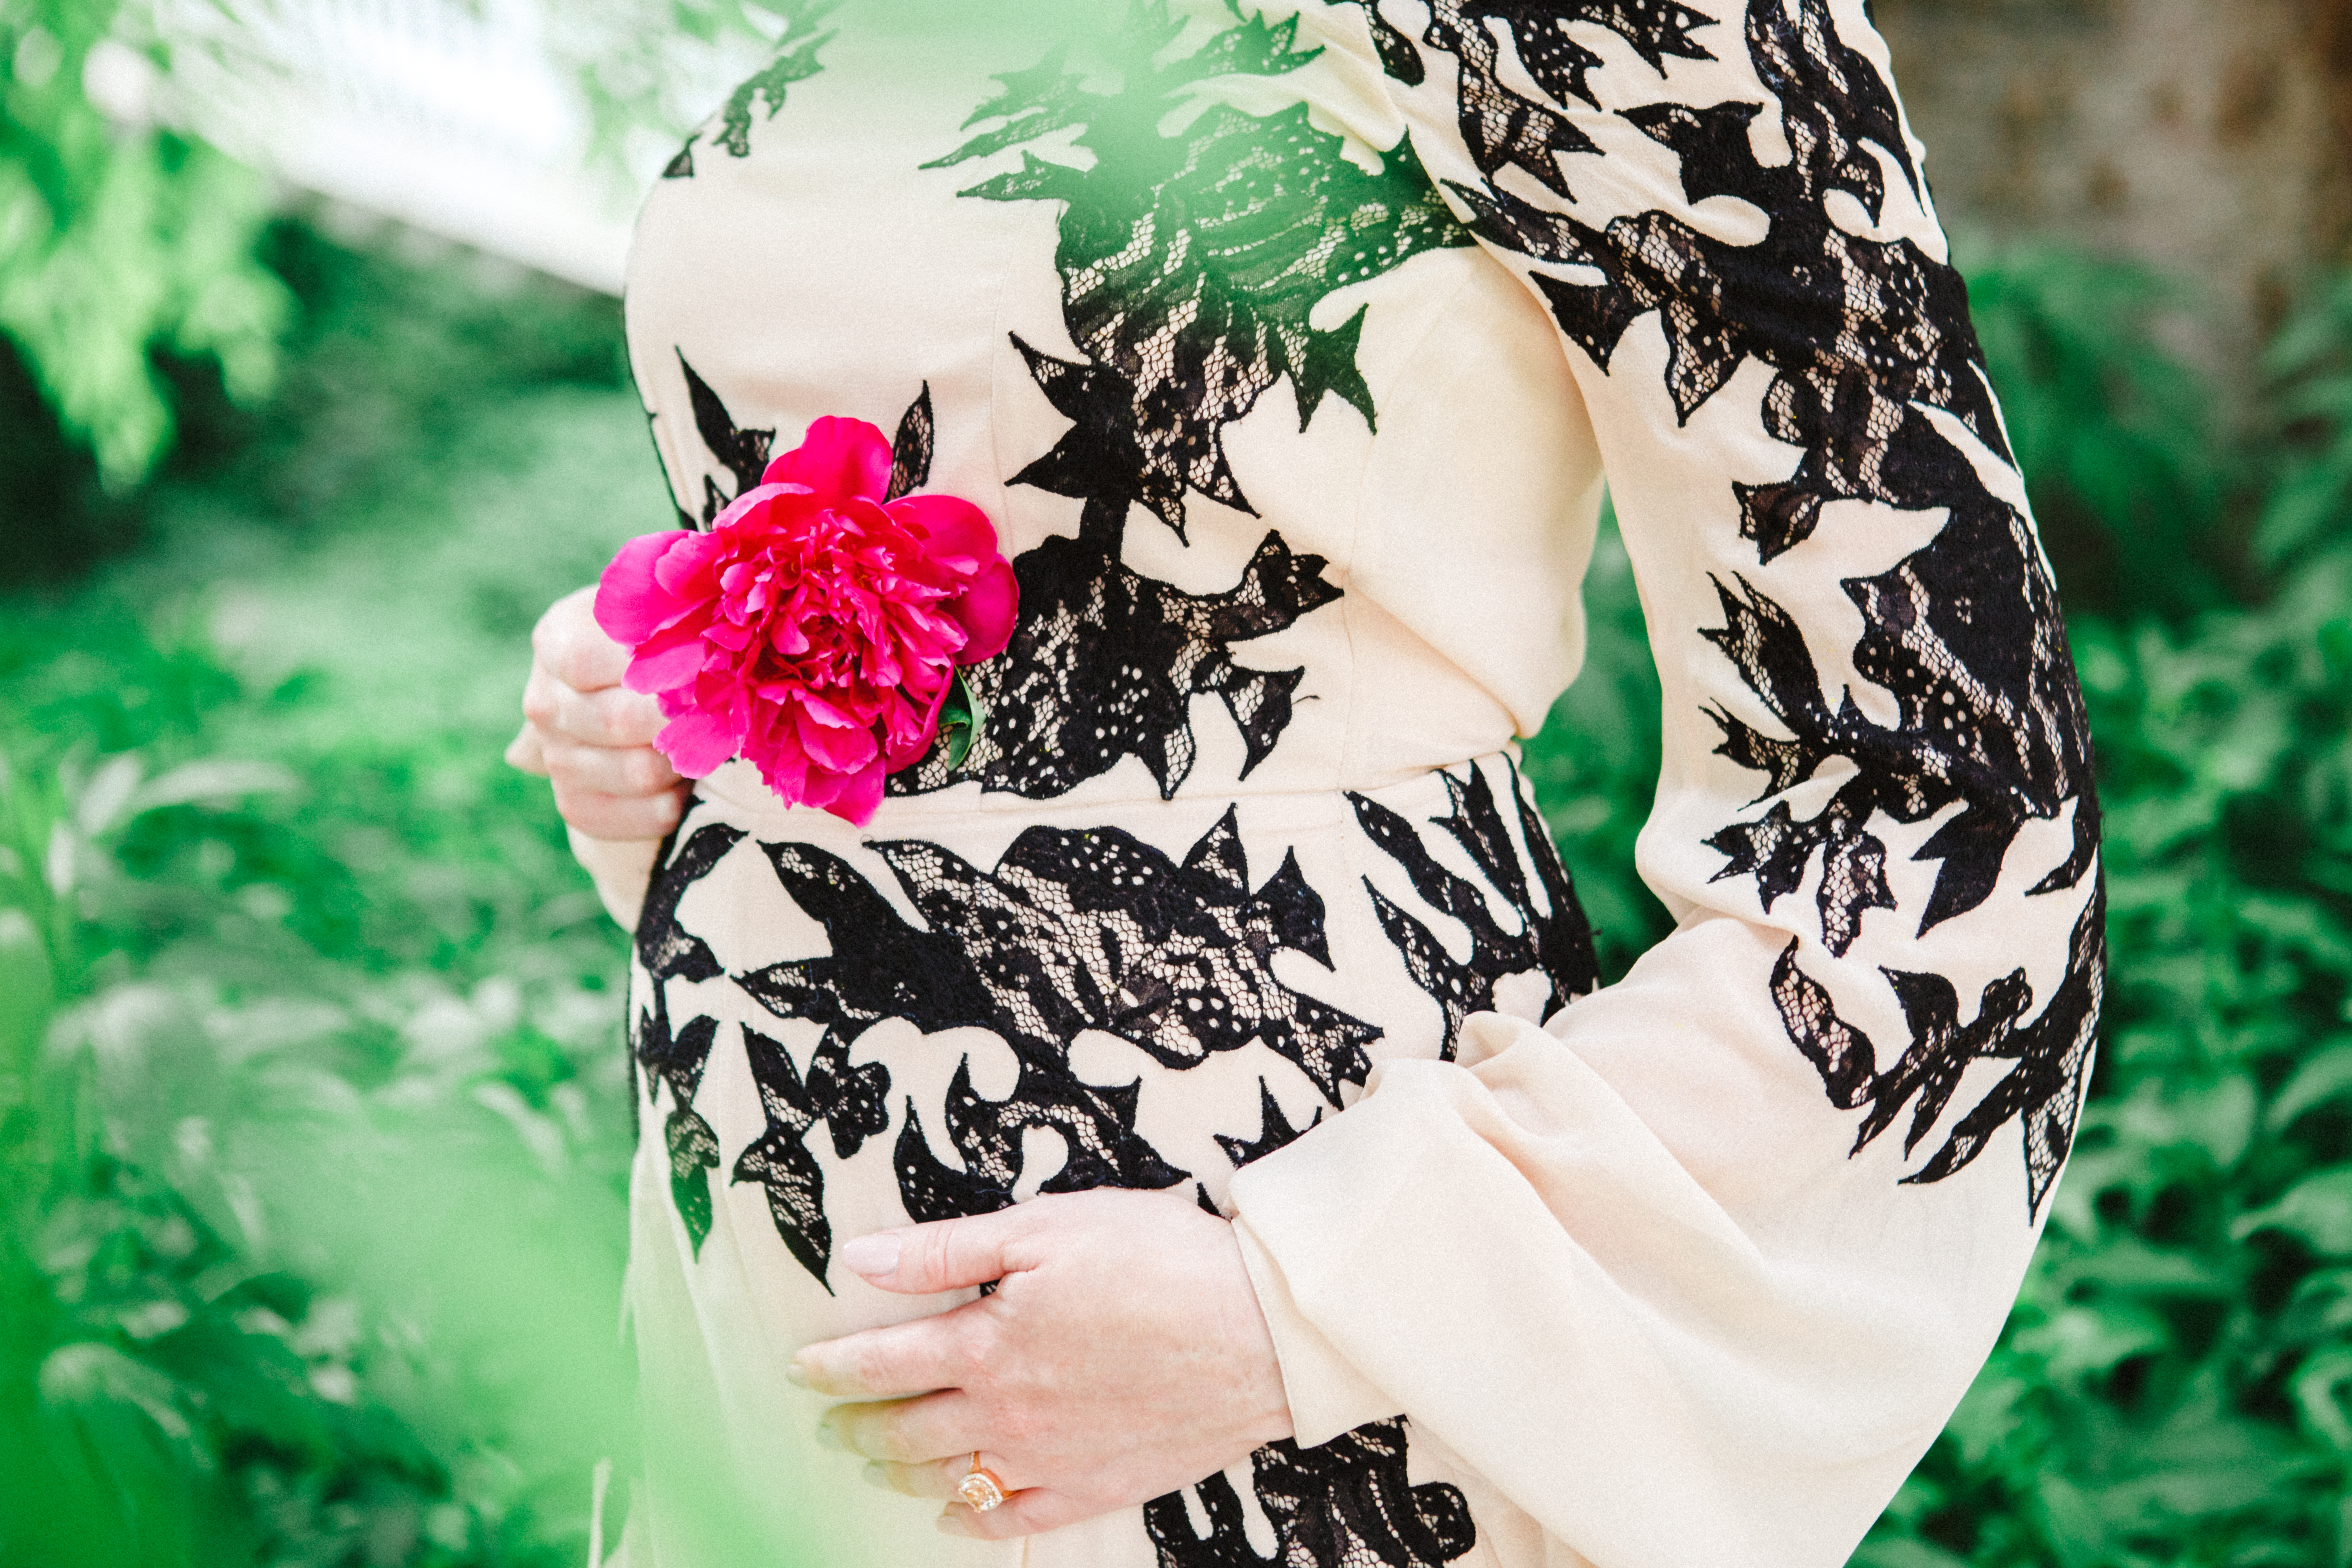
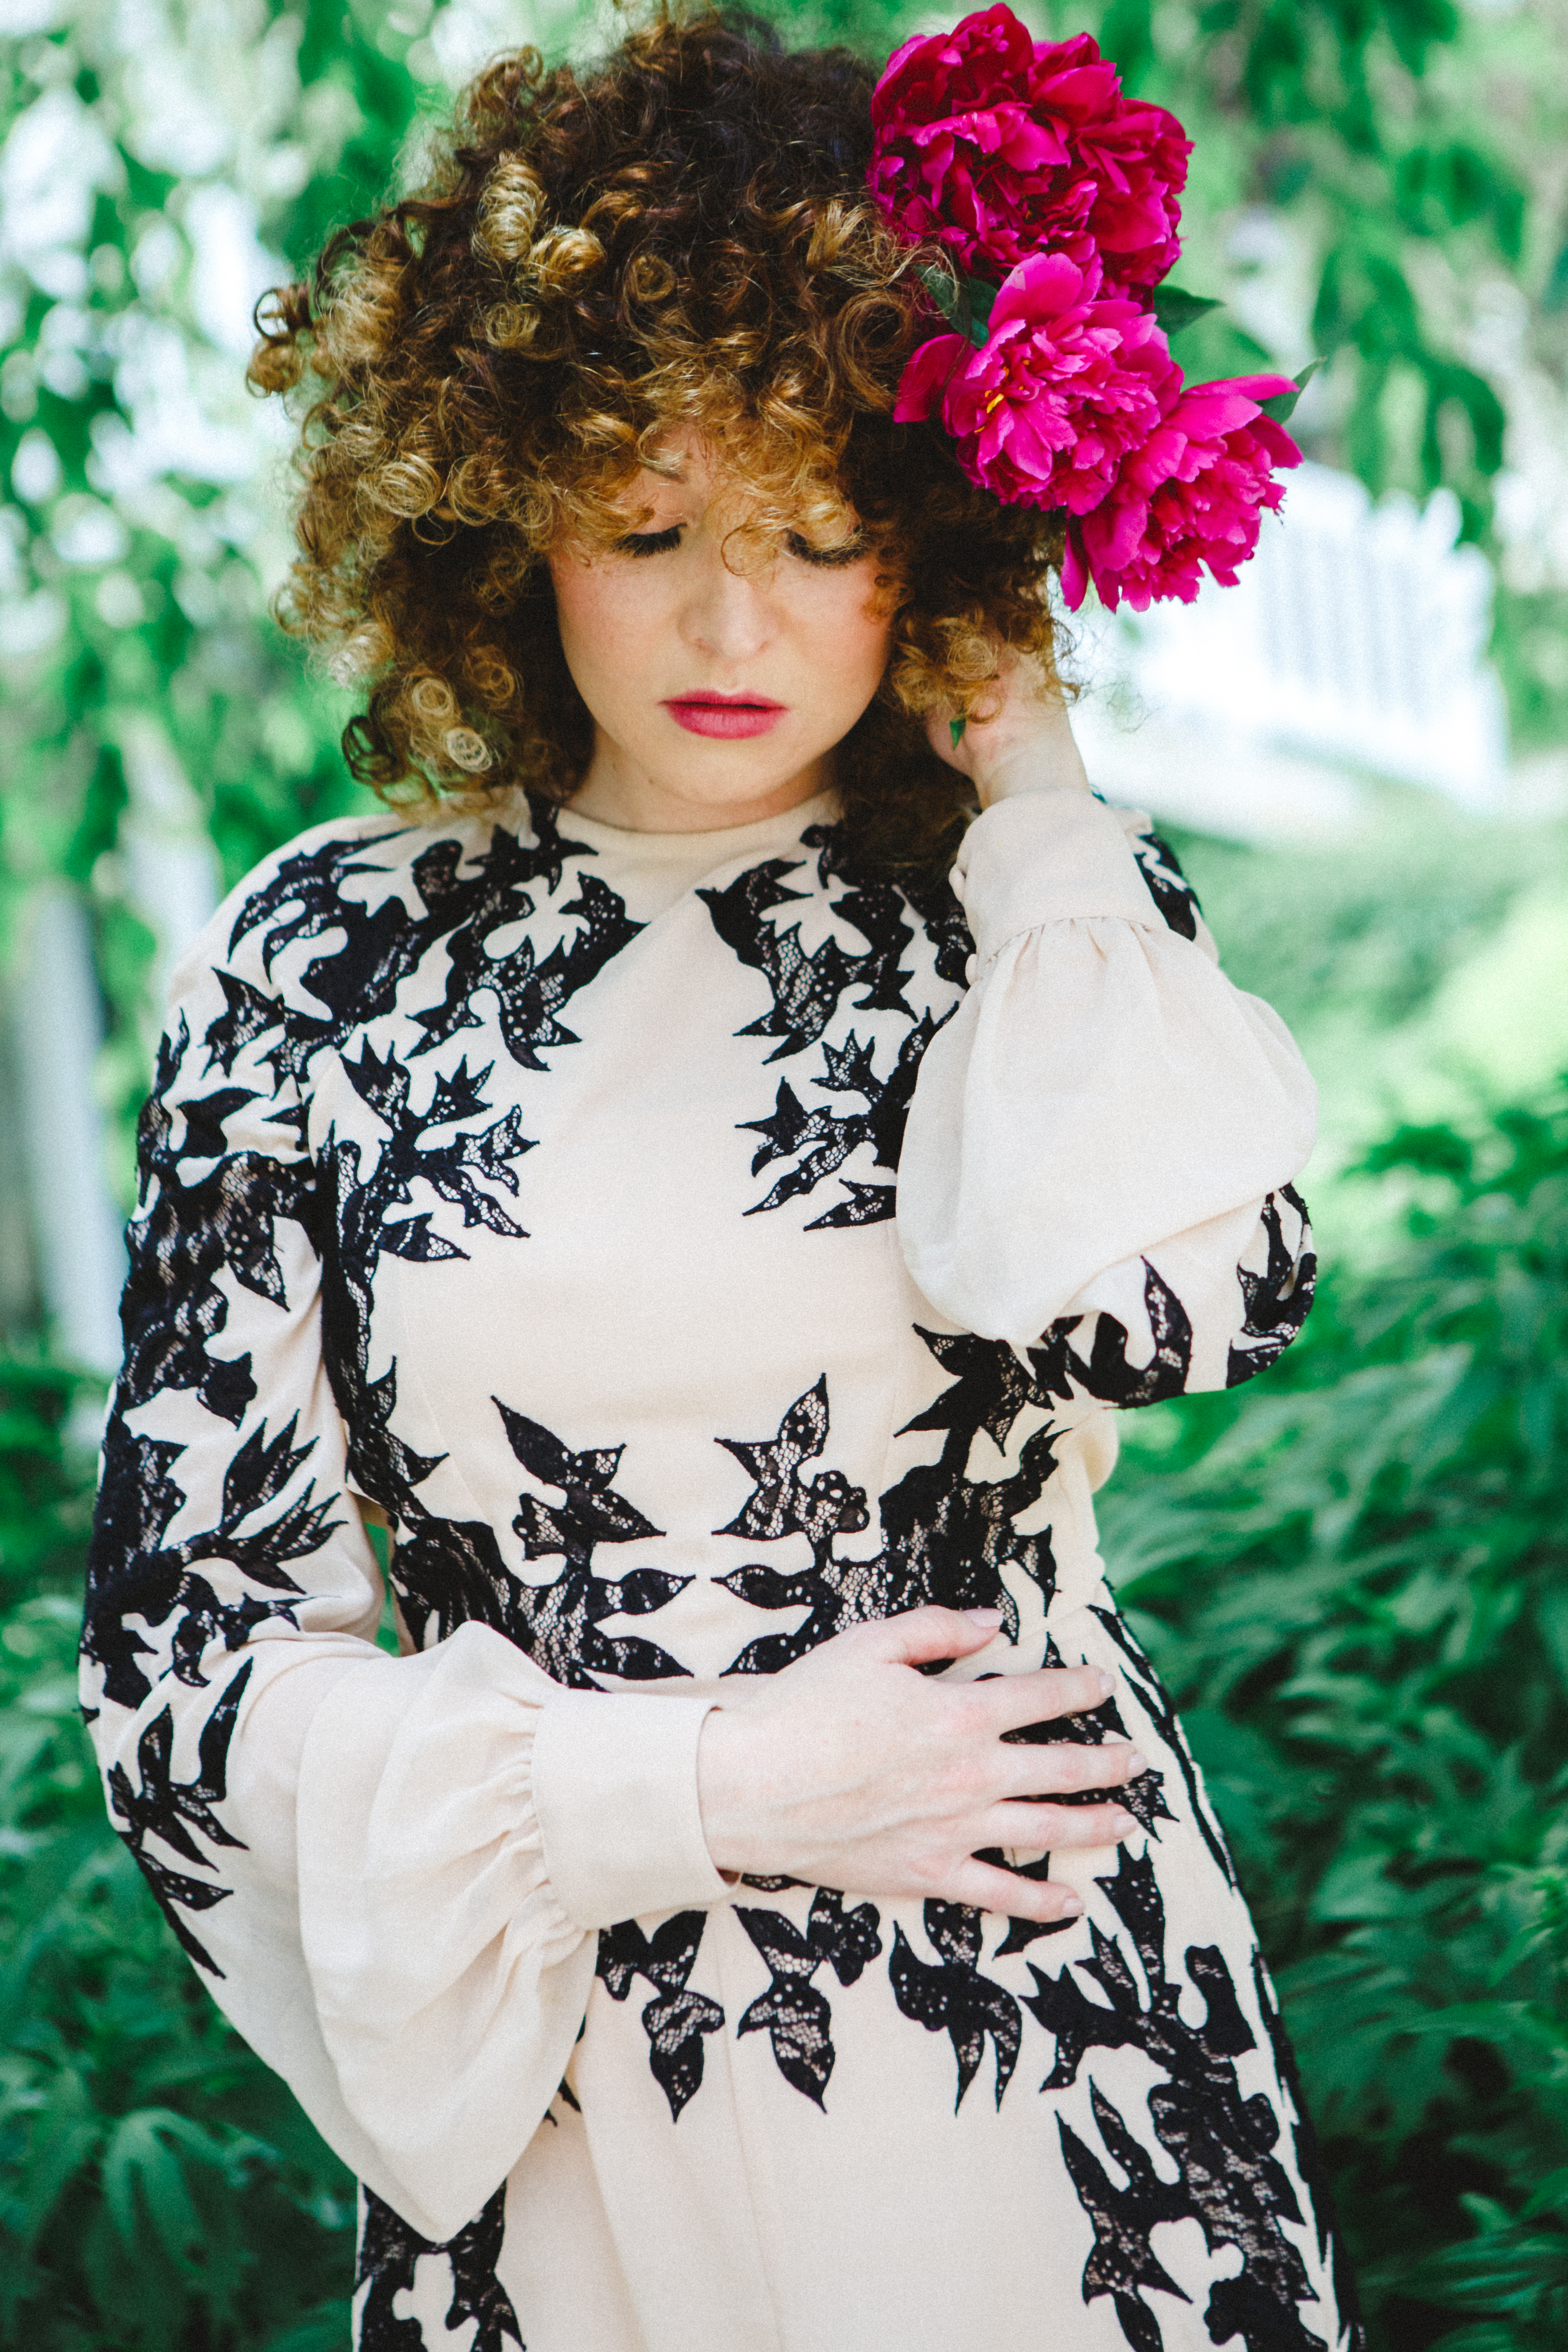
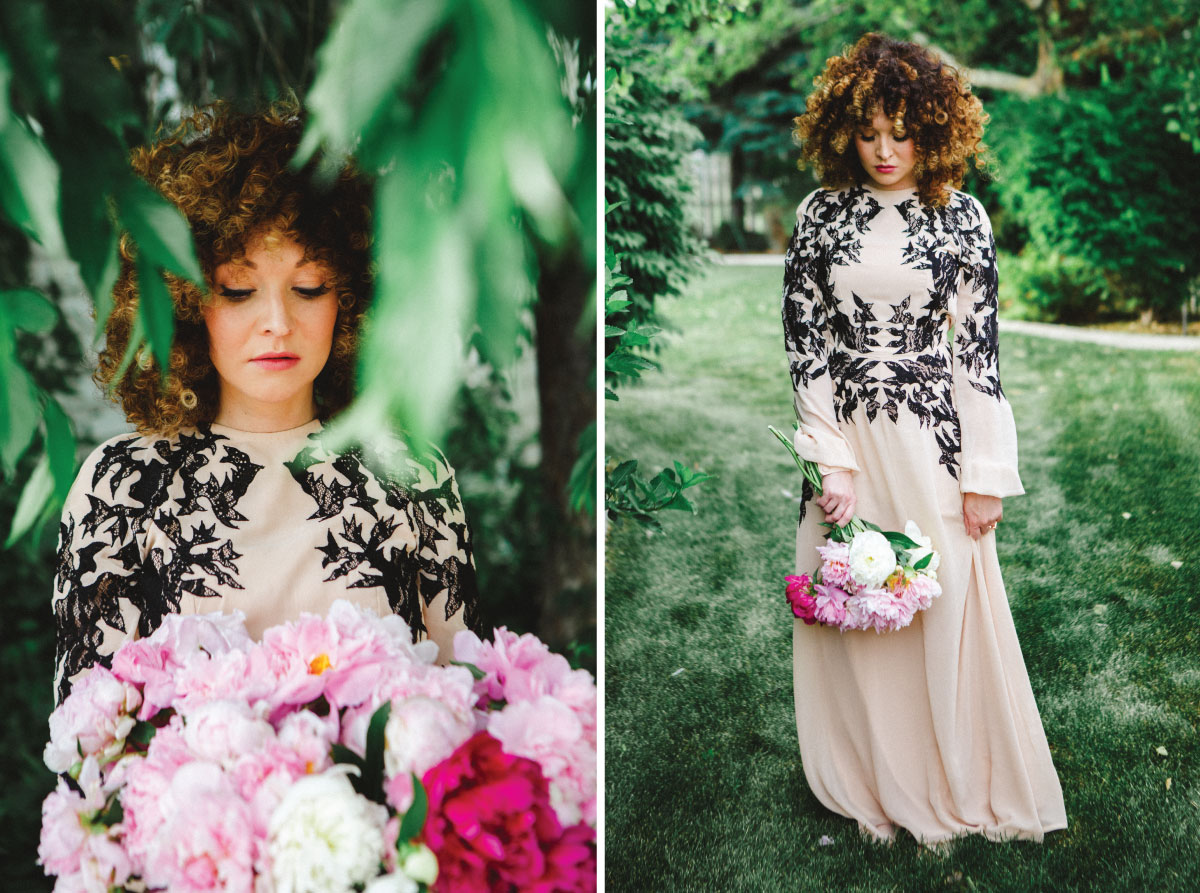
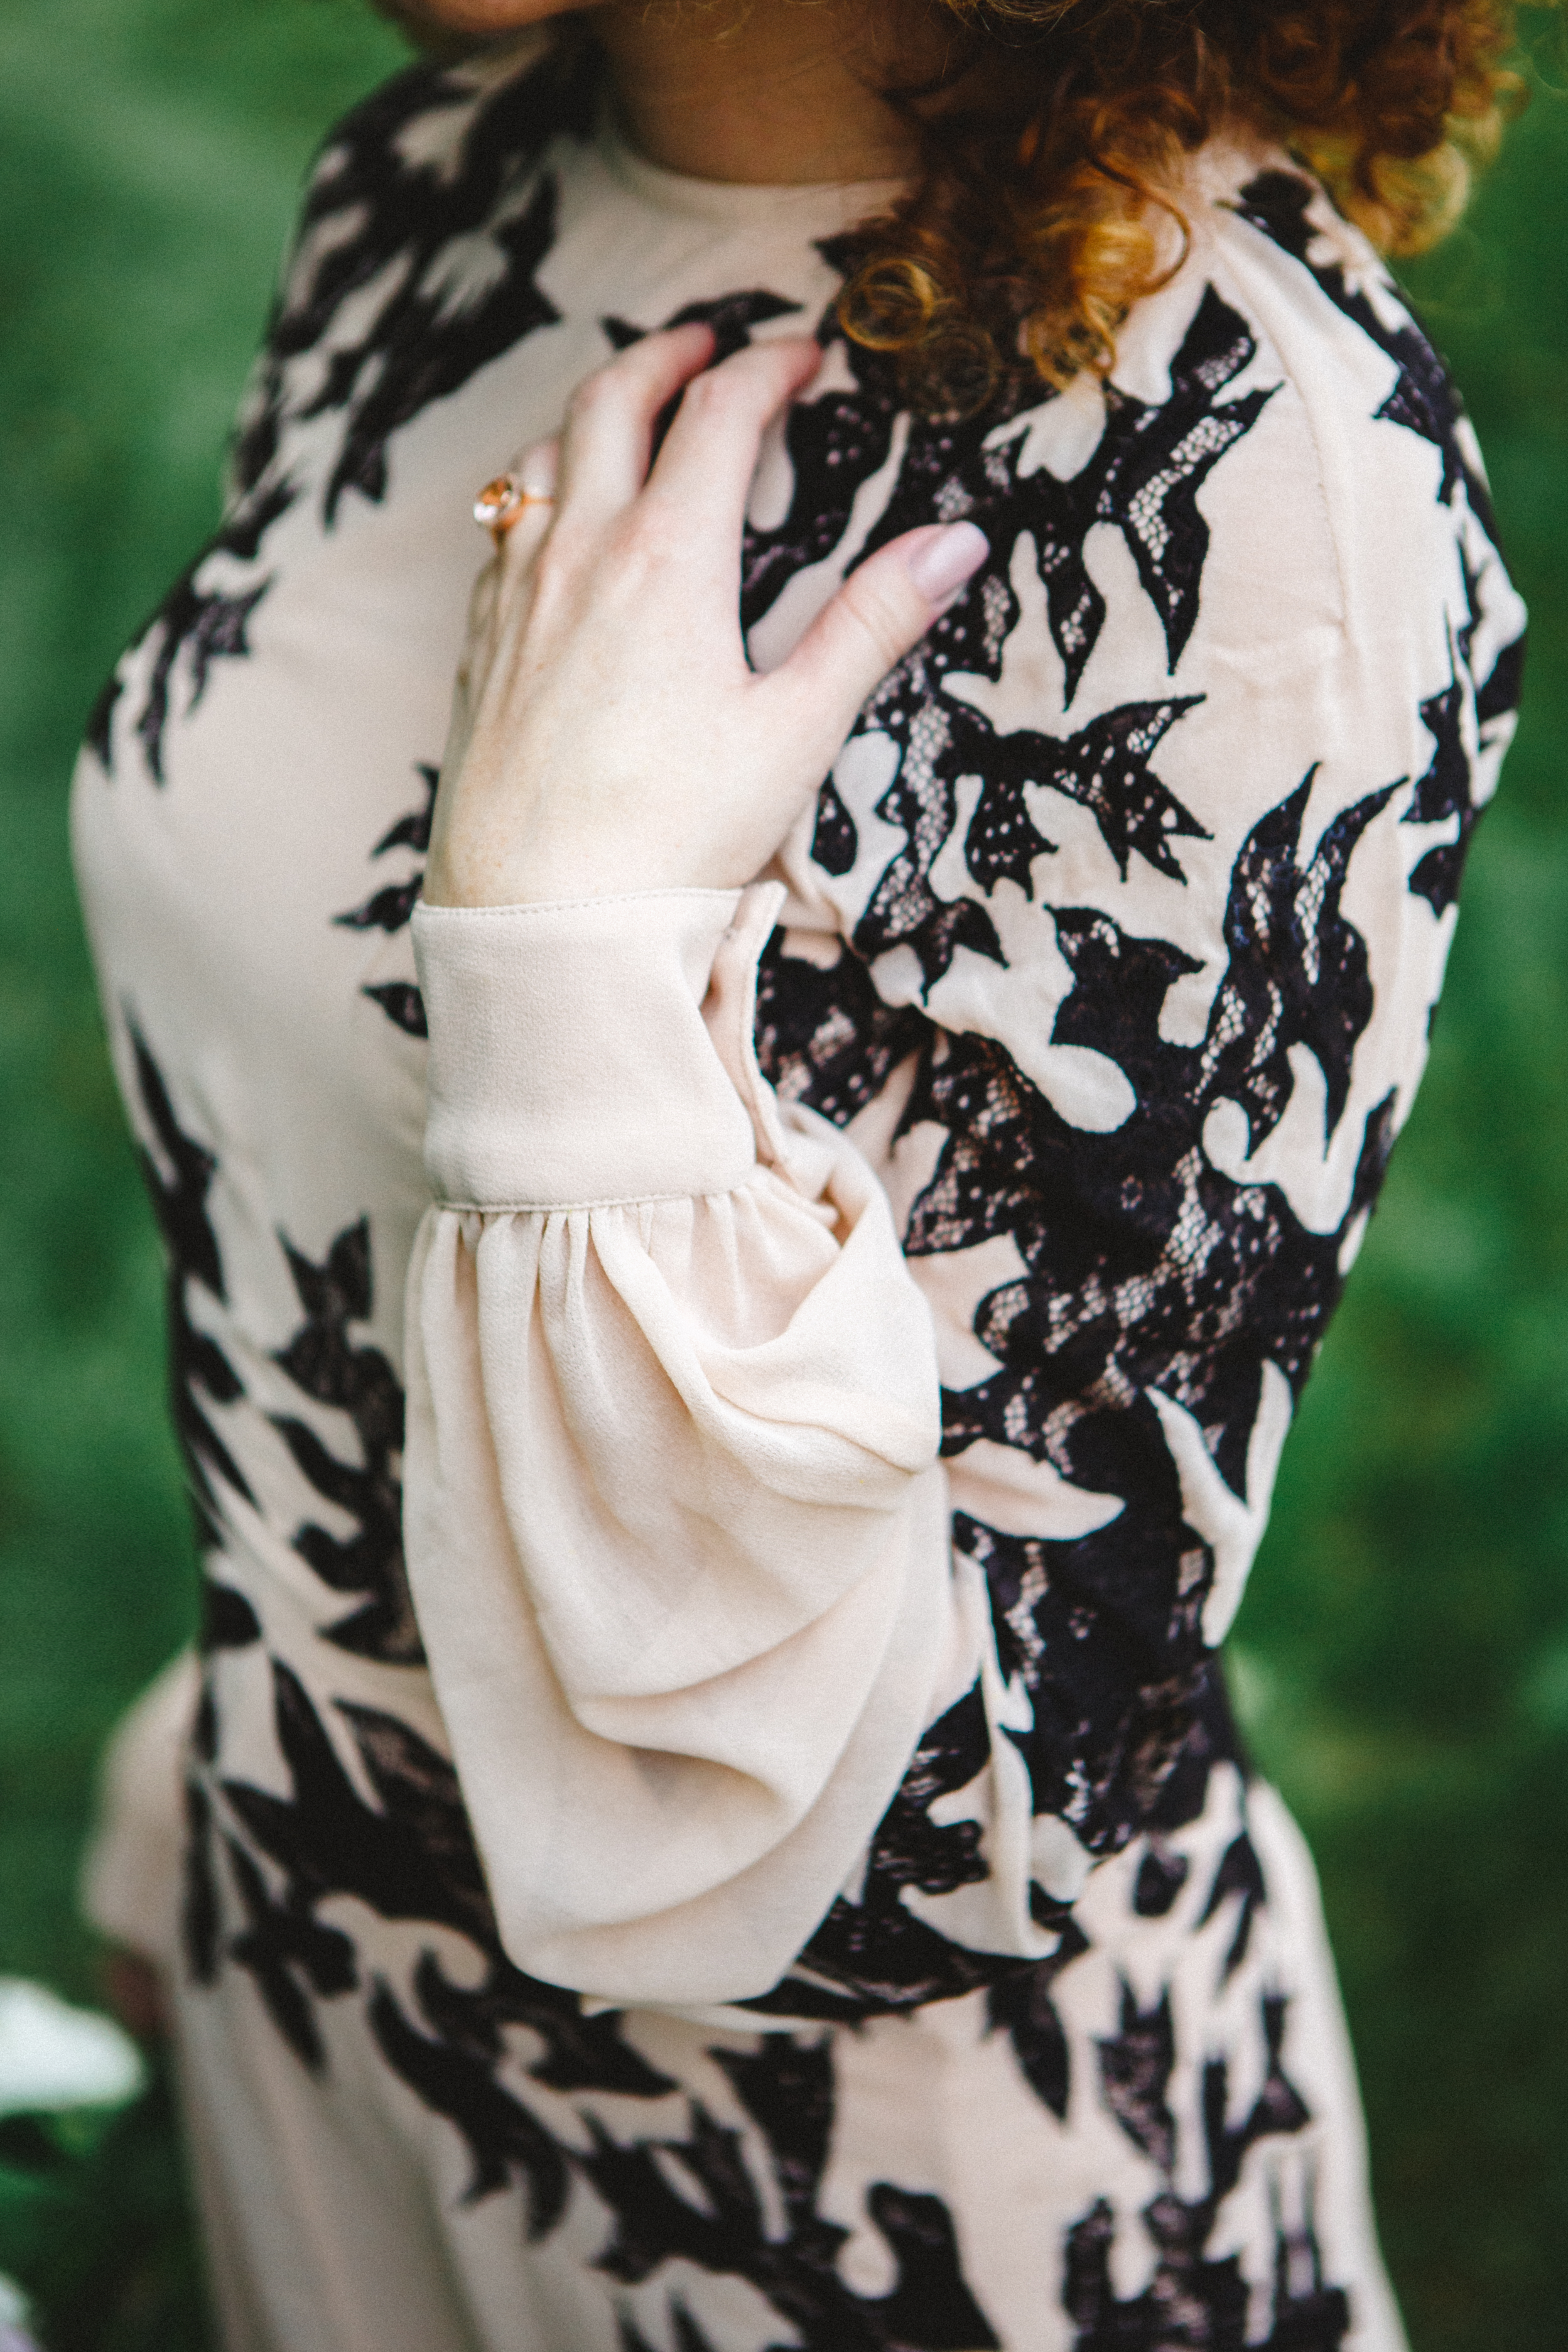
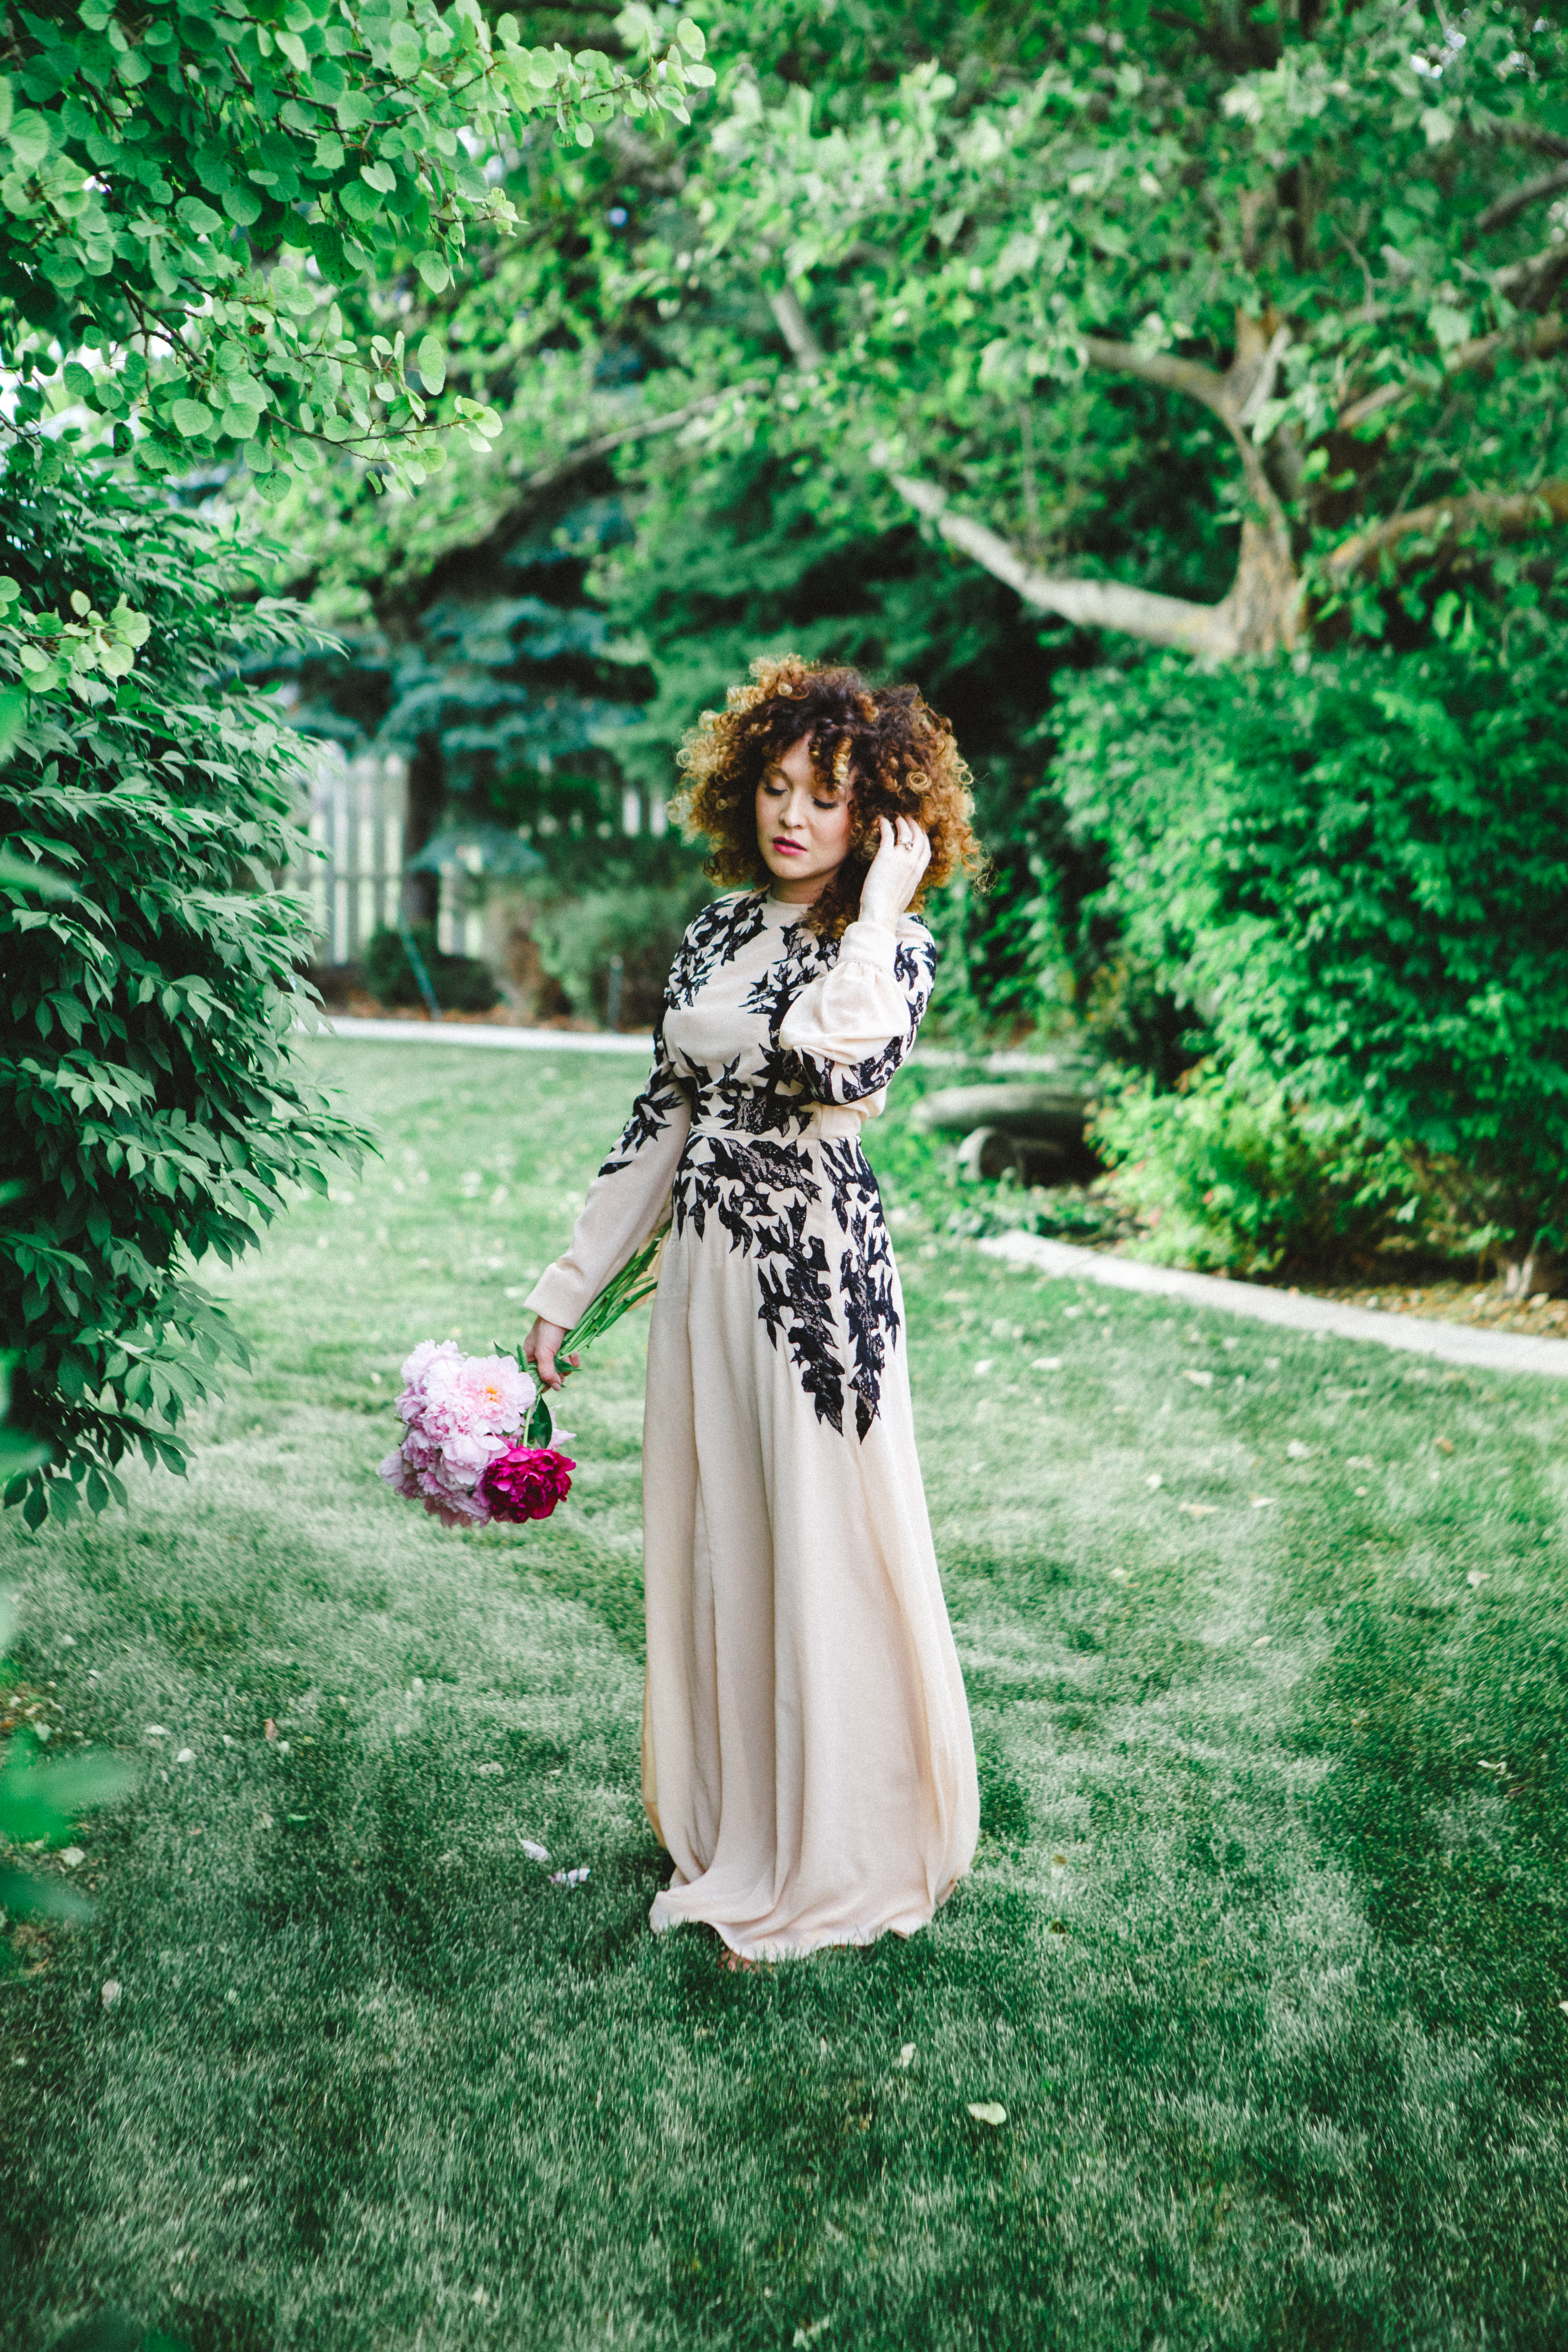
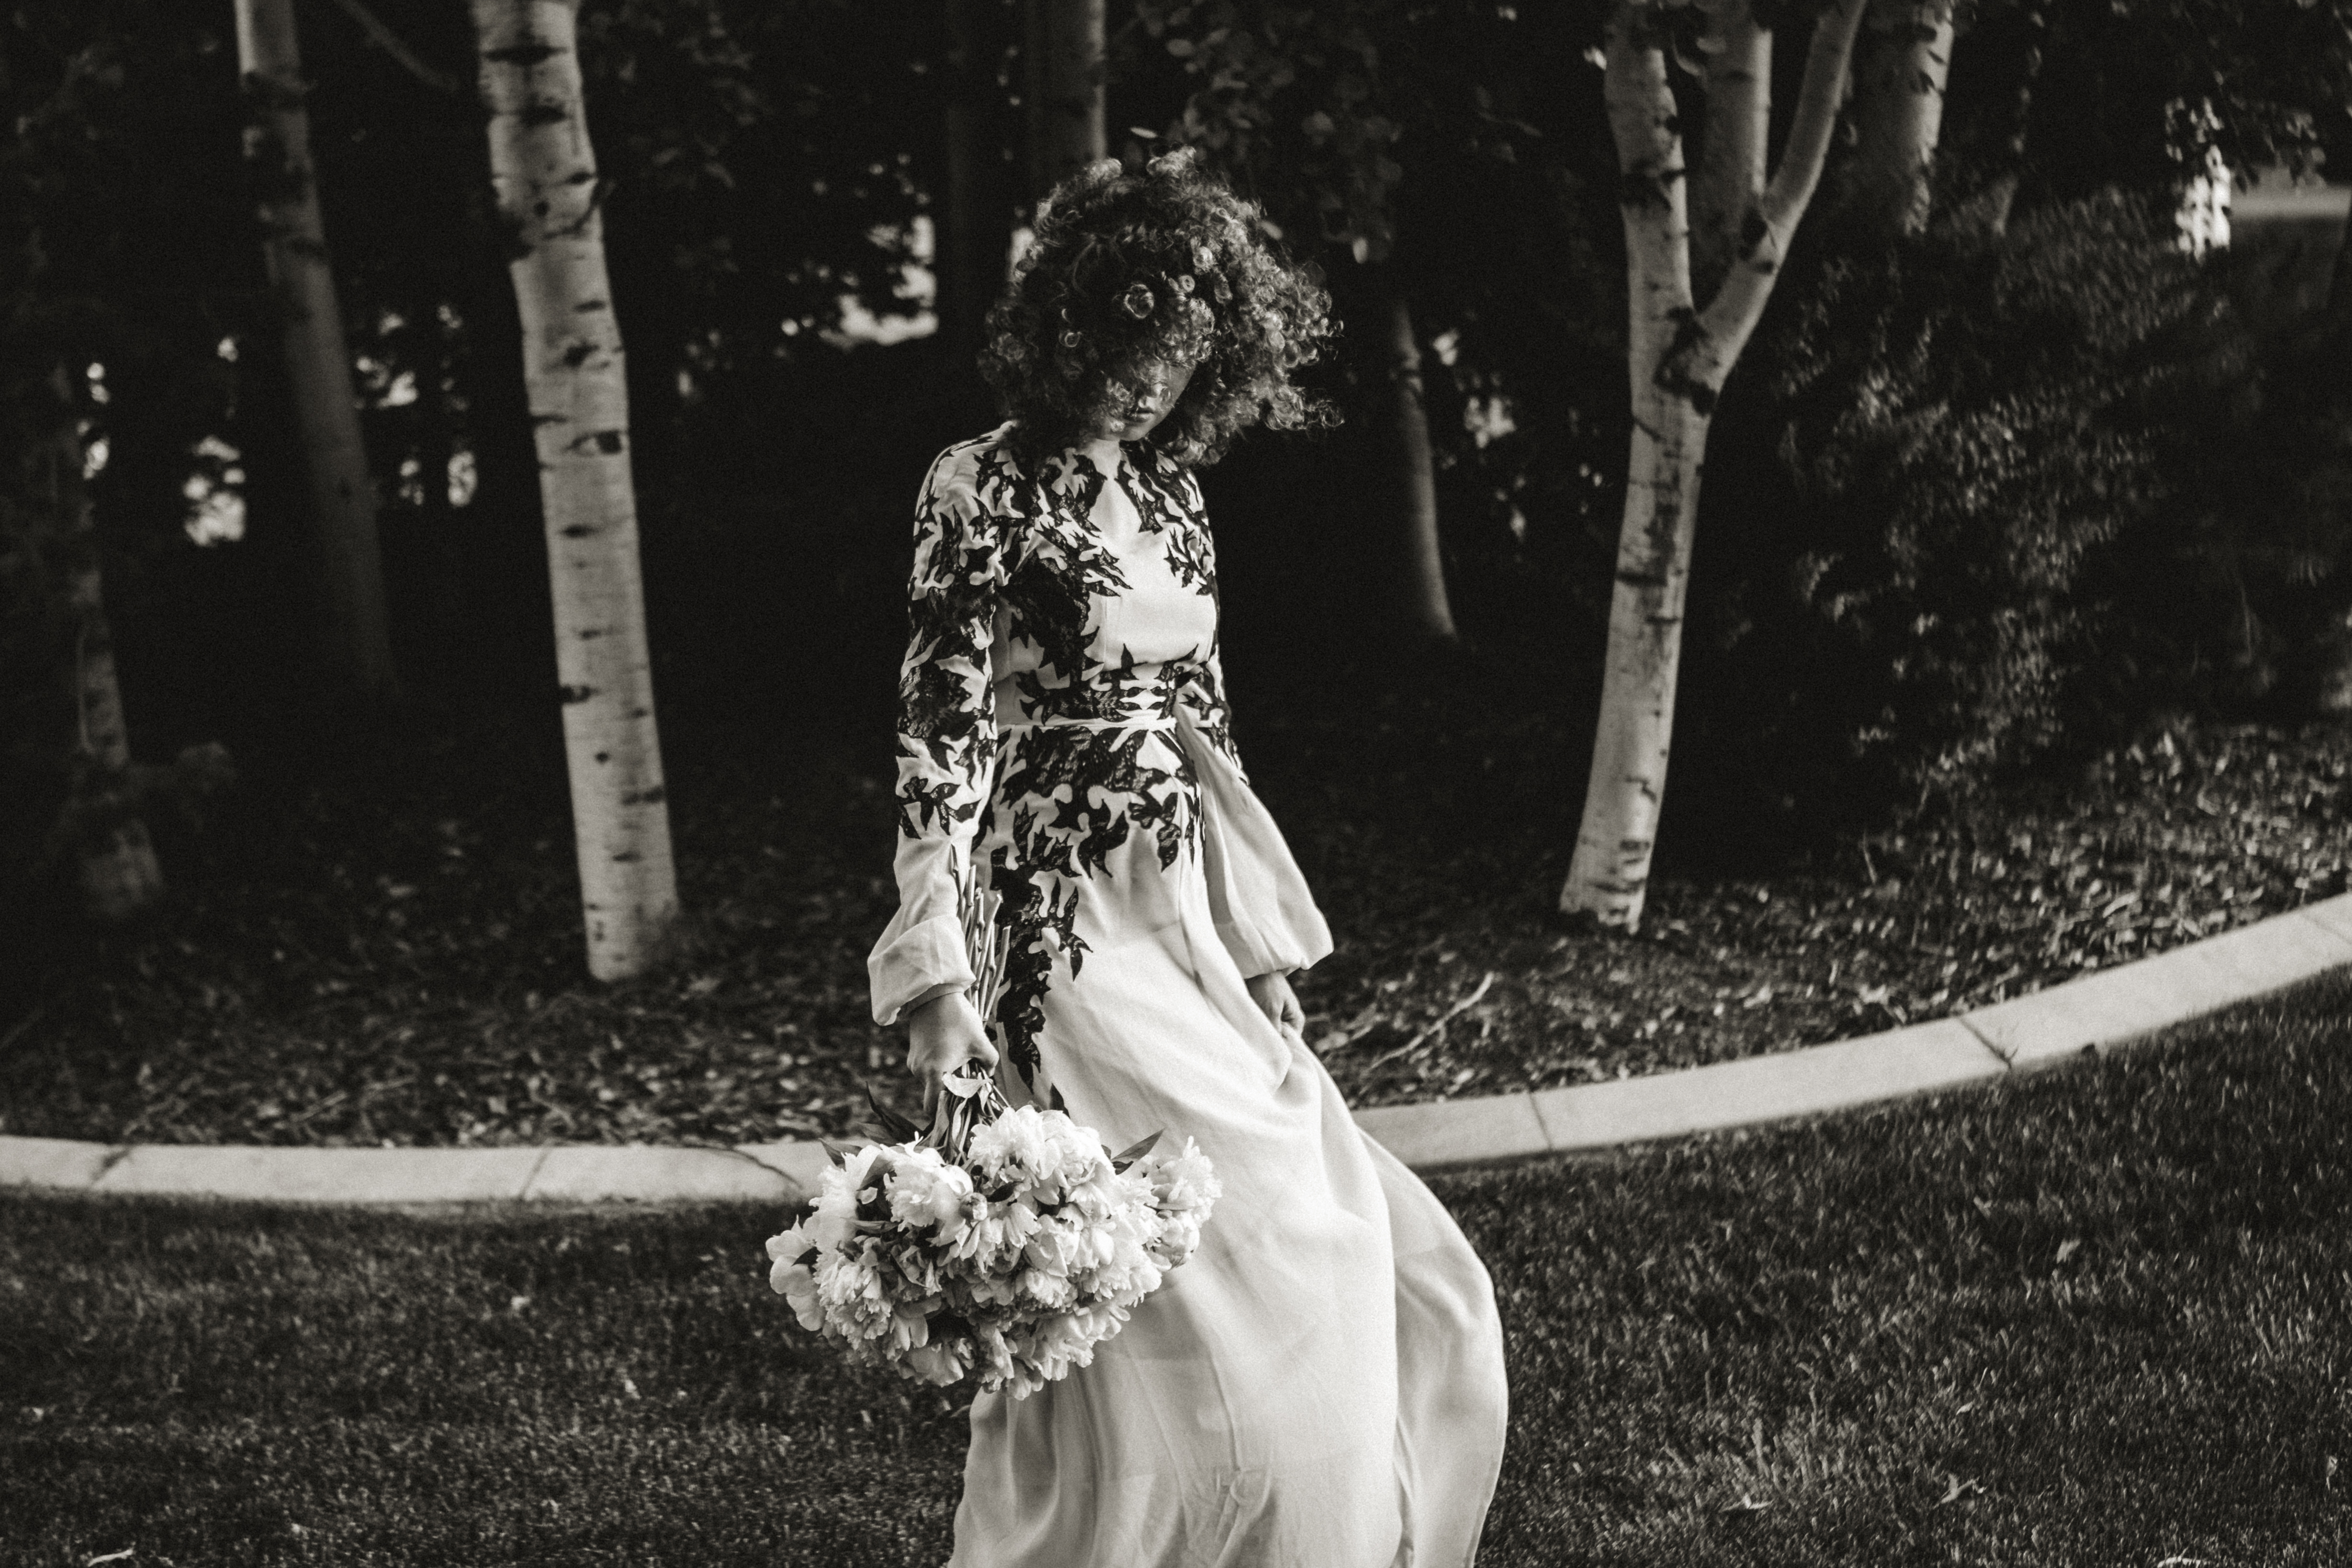
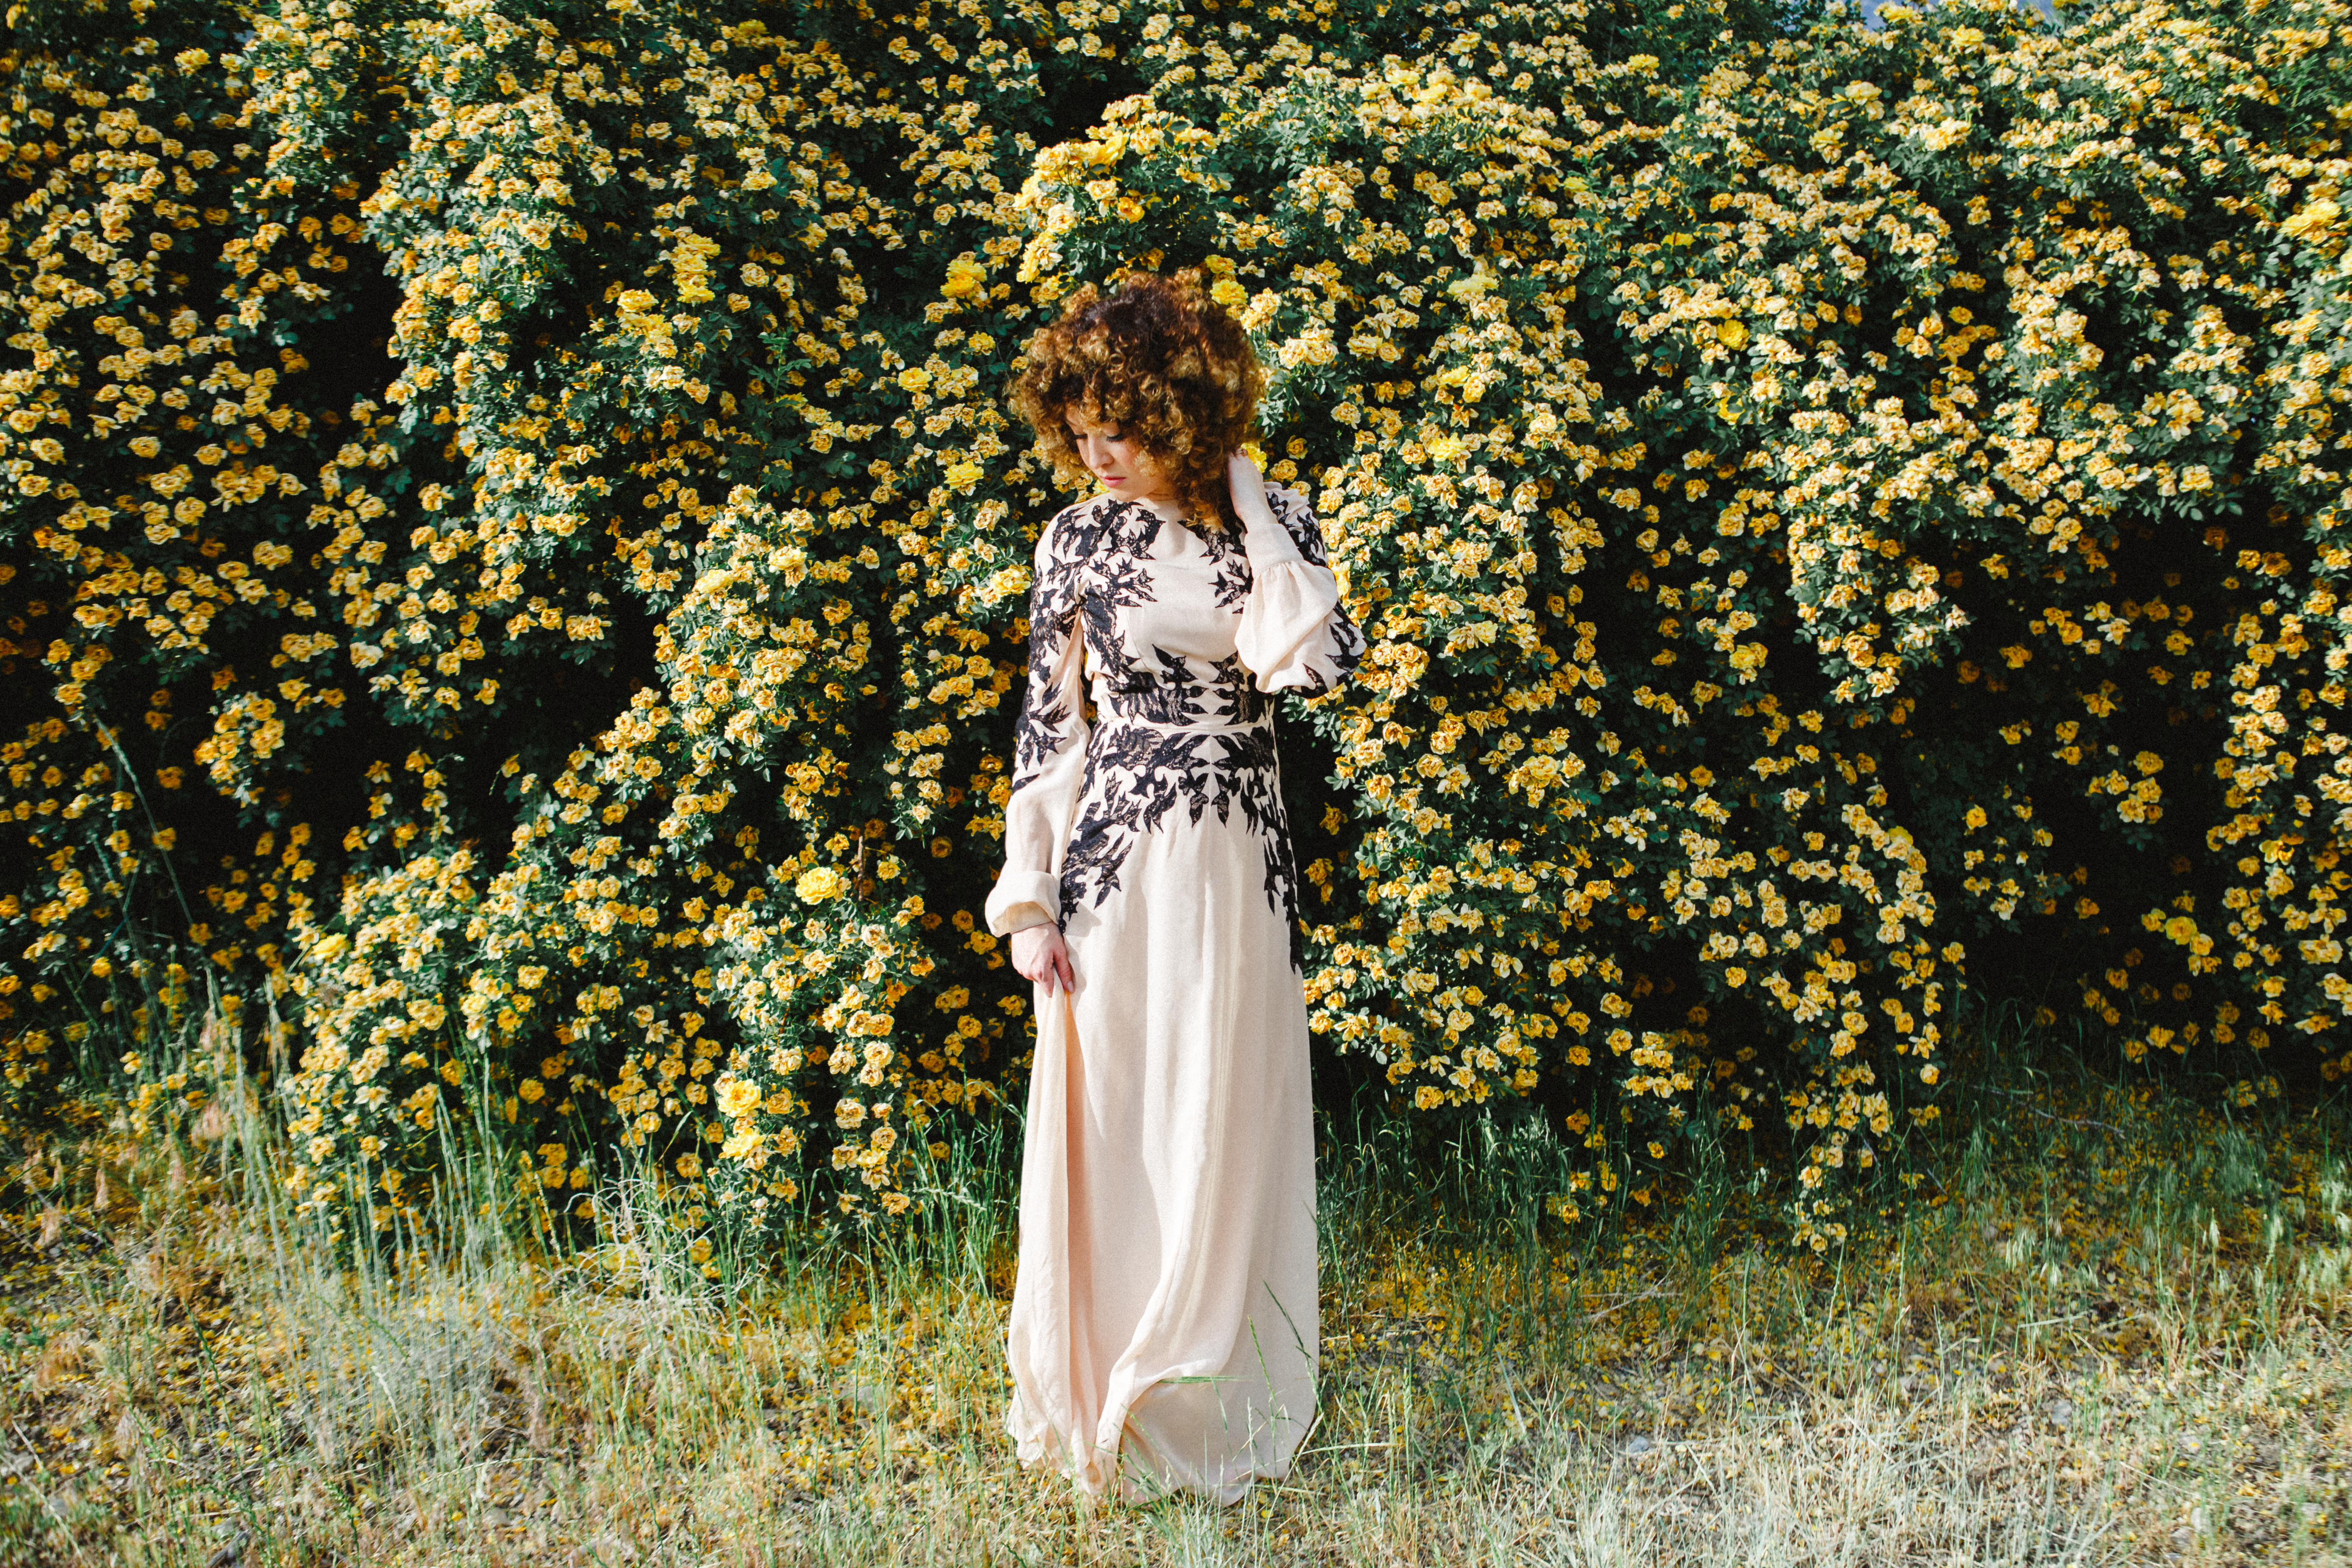
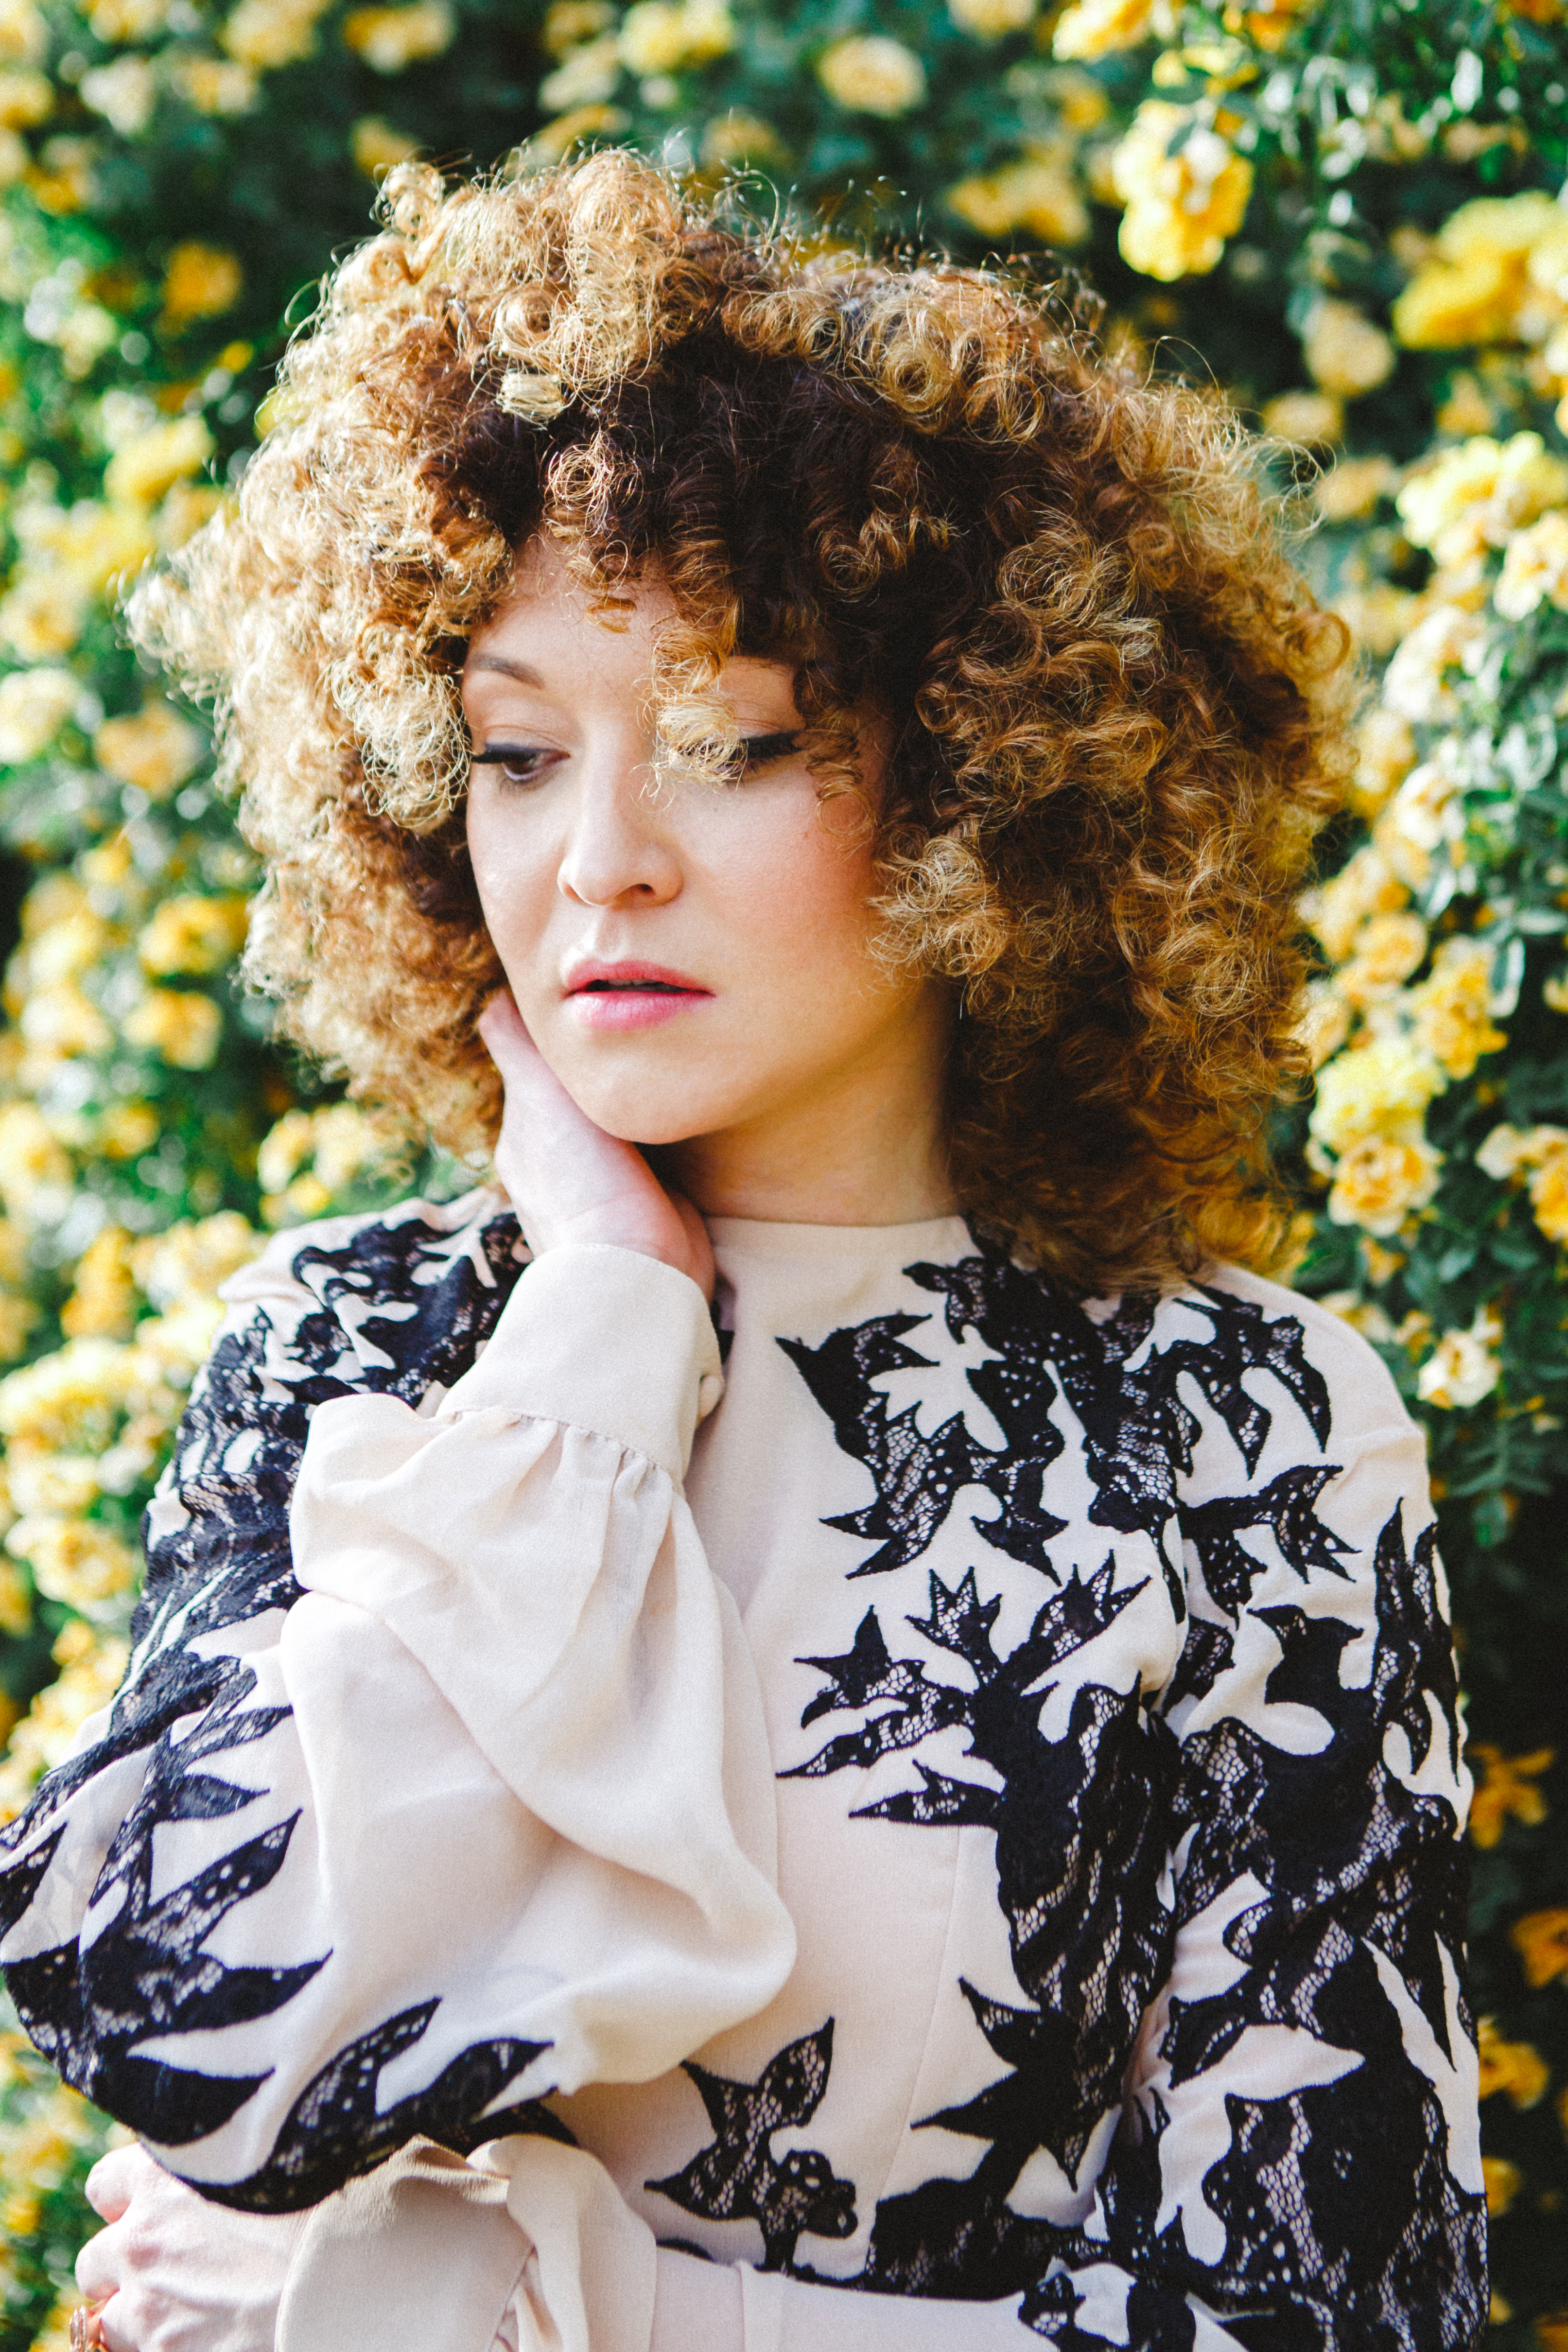
Recently I posted a pic and an amazing photographer Amanda Henderickson wanted to do a sort of maternity shoot with the fro (thats its name). Of course I jumped at the opportunity to do it again and we set a date for this 70’s inspo shoot. The best part is that Harper’s Bazaar just posted how perms are coming back in style so I couldn’t think of a more perfect time to let out my inner Foxy Brown and strut my baby bump. The dress is from ASOS but was rented to me by The Dress Collective, a shop that literally has every dress you could imagine for rent. I was excited to do the collab with them because of their fashion forward style and the fact that renting a dress is soooo much less expensive than buying it for a few hour photoshoot.
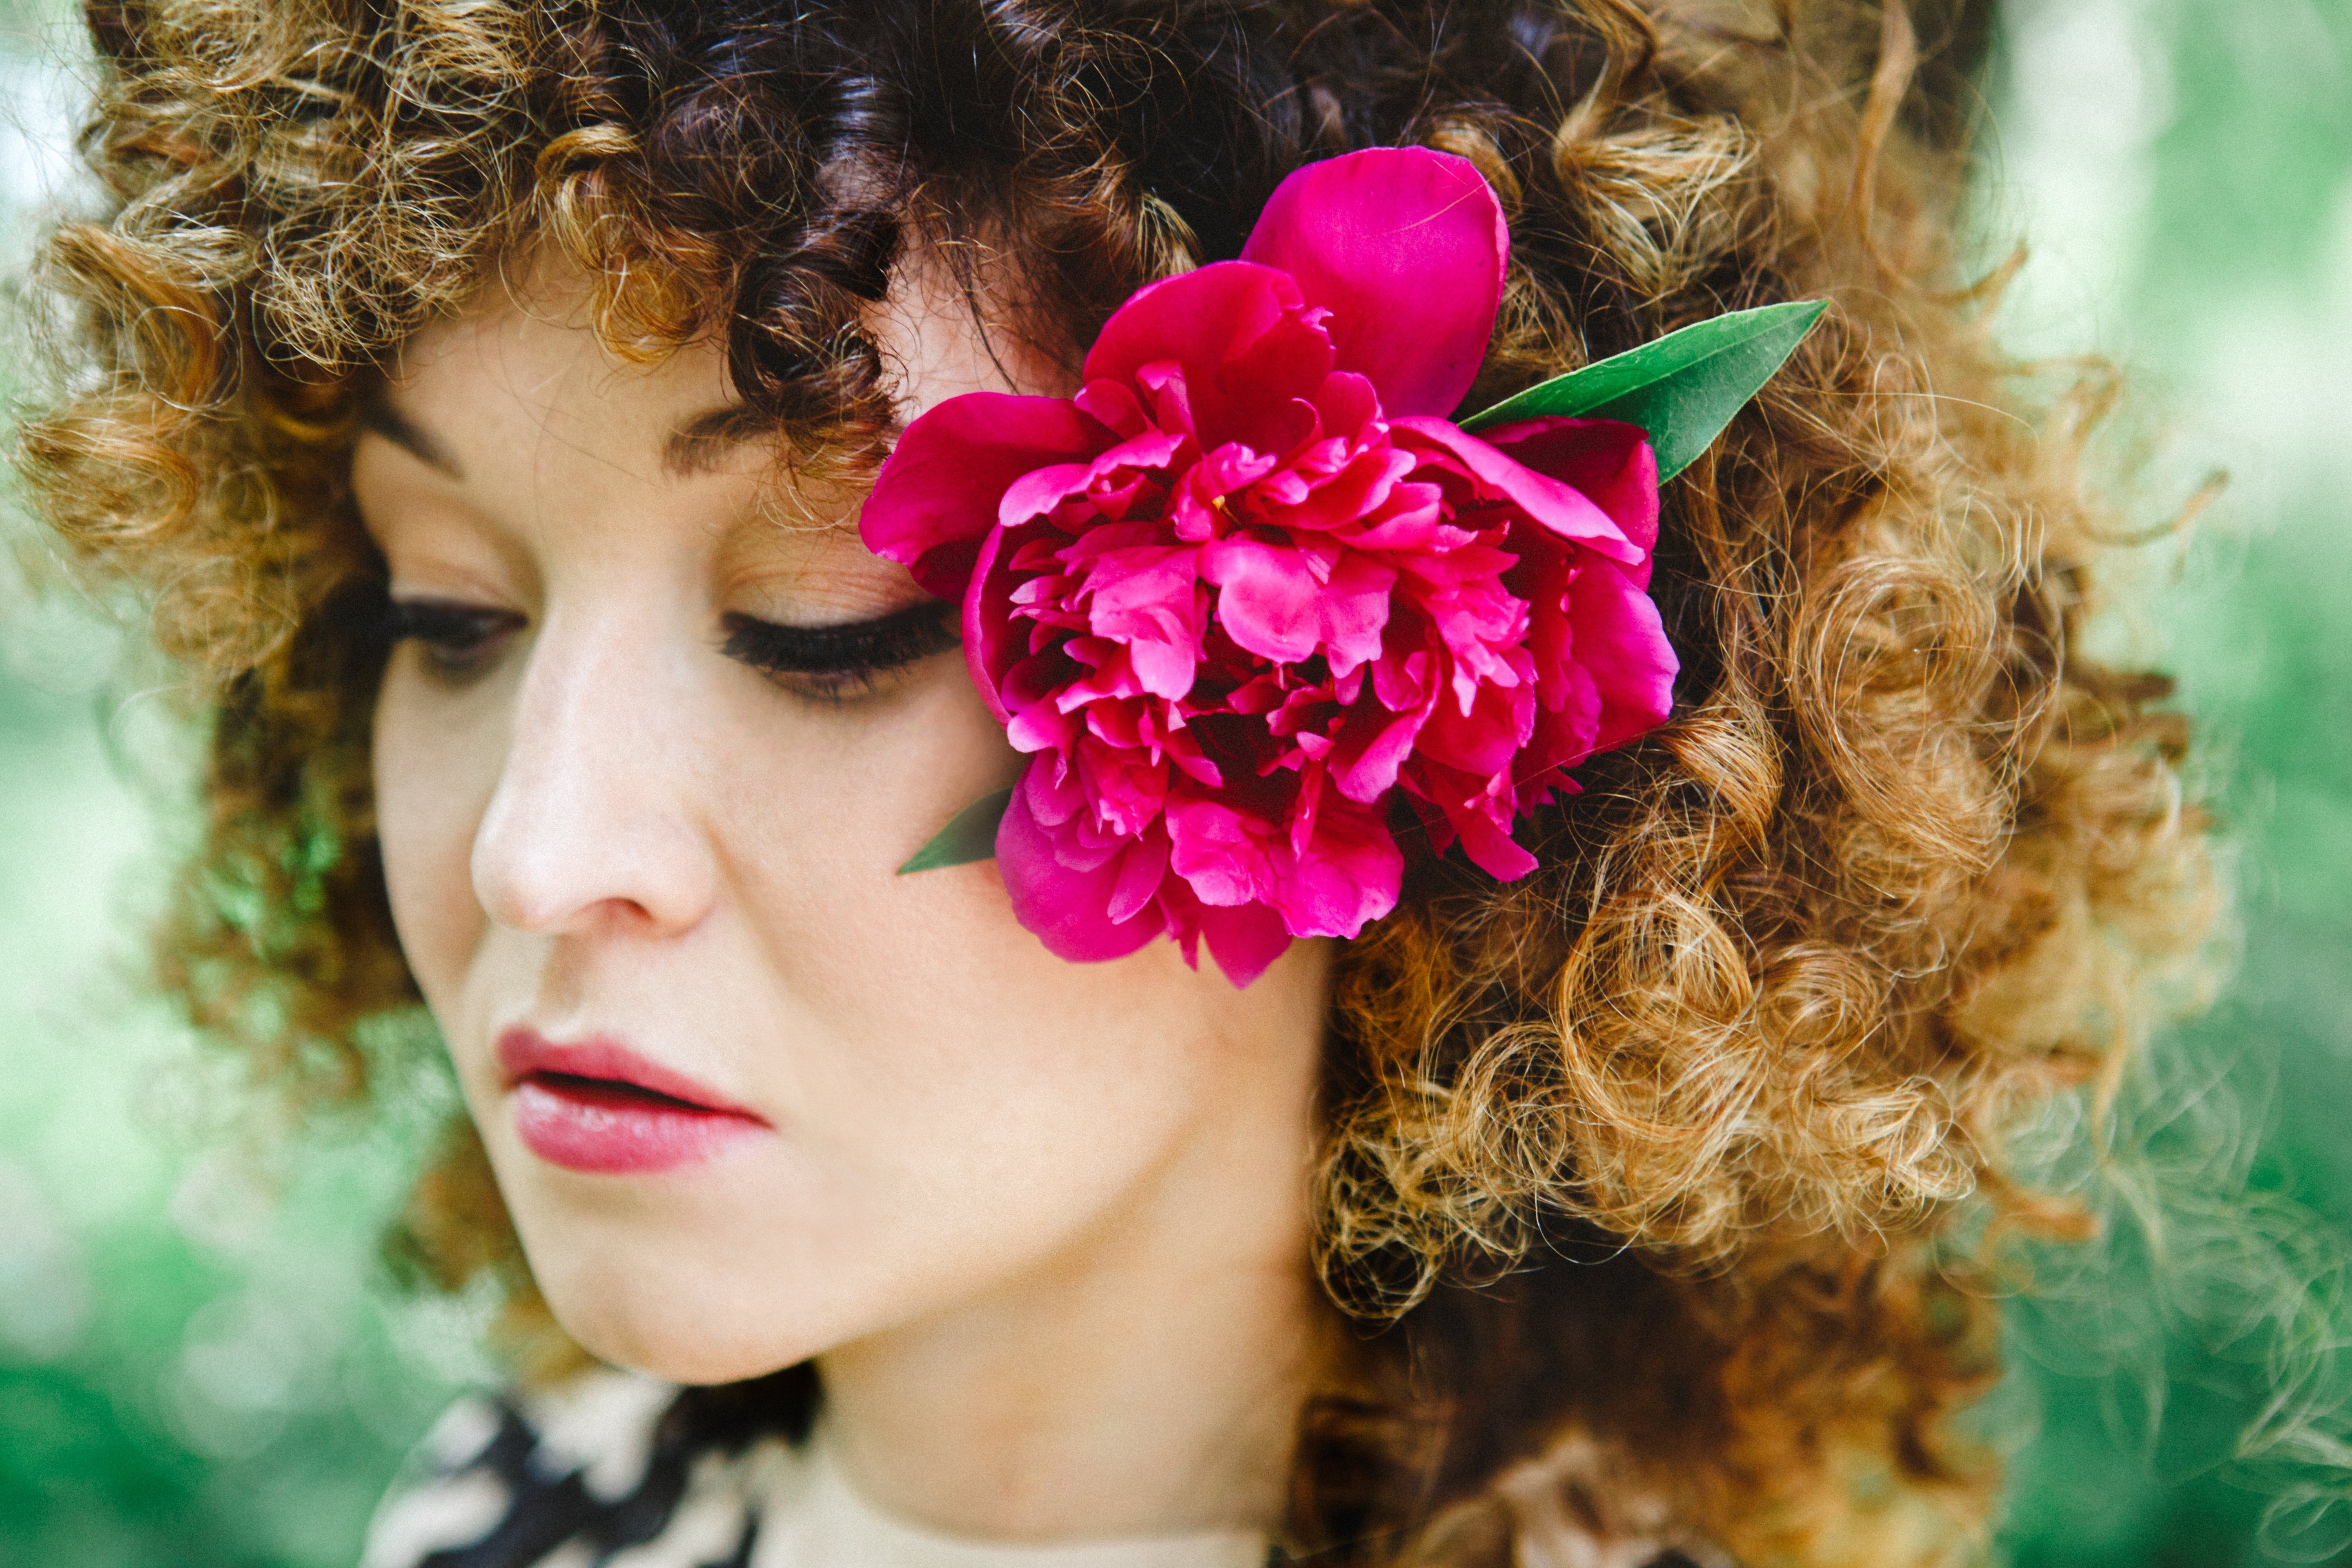
I thought because I love my fro so much and although perms are great, I don’t want my hair like that forever so I would share how and what I used in order to do the 3 day fro.
1.First I went to Sally’s Beauty Supply and bought a few bags of the cheapest, smallest black sponge rollers they had (I think it was about $7). I ended up using 45 total rollers for my whole head and my hair is pretty thick and down to the middle of my back so that should help you with figure out the amount that you will need for your hair.
2. Then I showered and combed through my hair dividing it into three sections. I then split my rollers into three groups to pace myself, with the largest for the top section of my head since that is the most important.
3. I sprayed a light layer of hairspray over the section and then began to take small peices and roll them away from my face.
4. I waited all day for them to dry. The first time I did it, I slept in them and it was a terrible night so I decided to just let it go all day.
5. I used the blow dryer at the end before I took them out just to make sure the roots were dry.
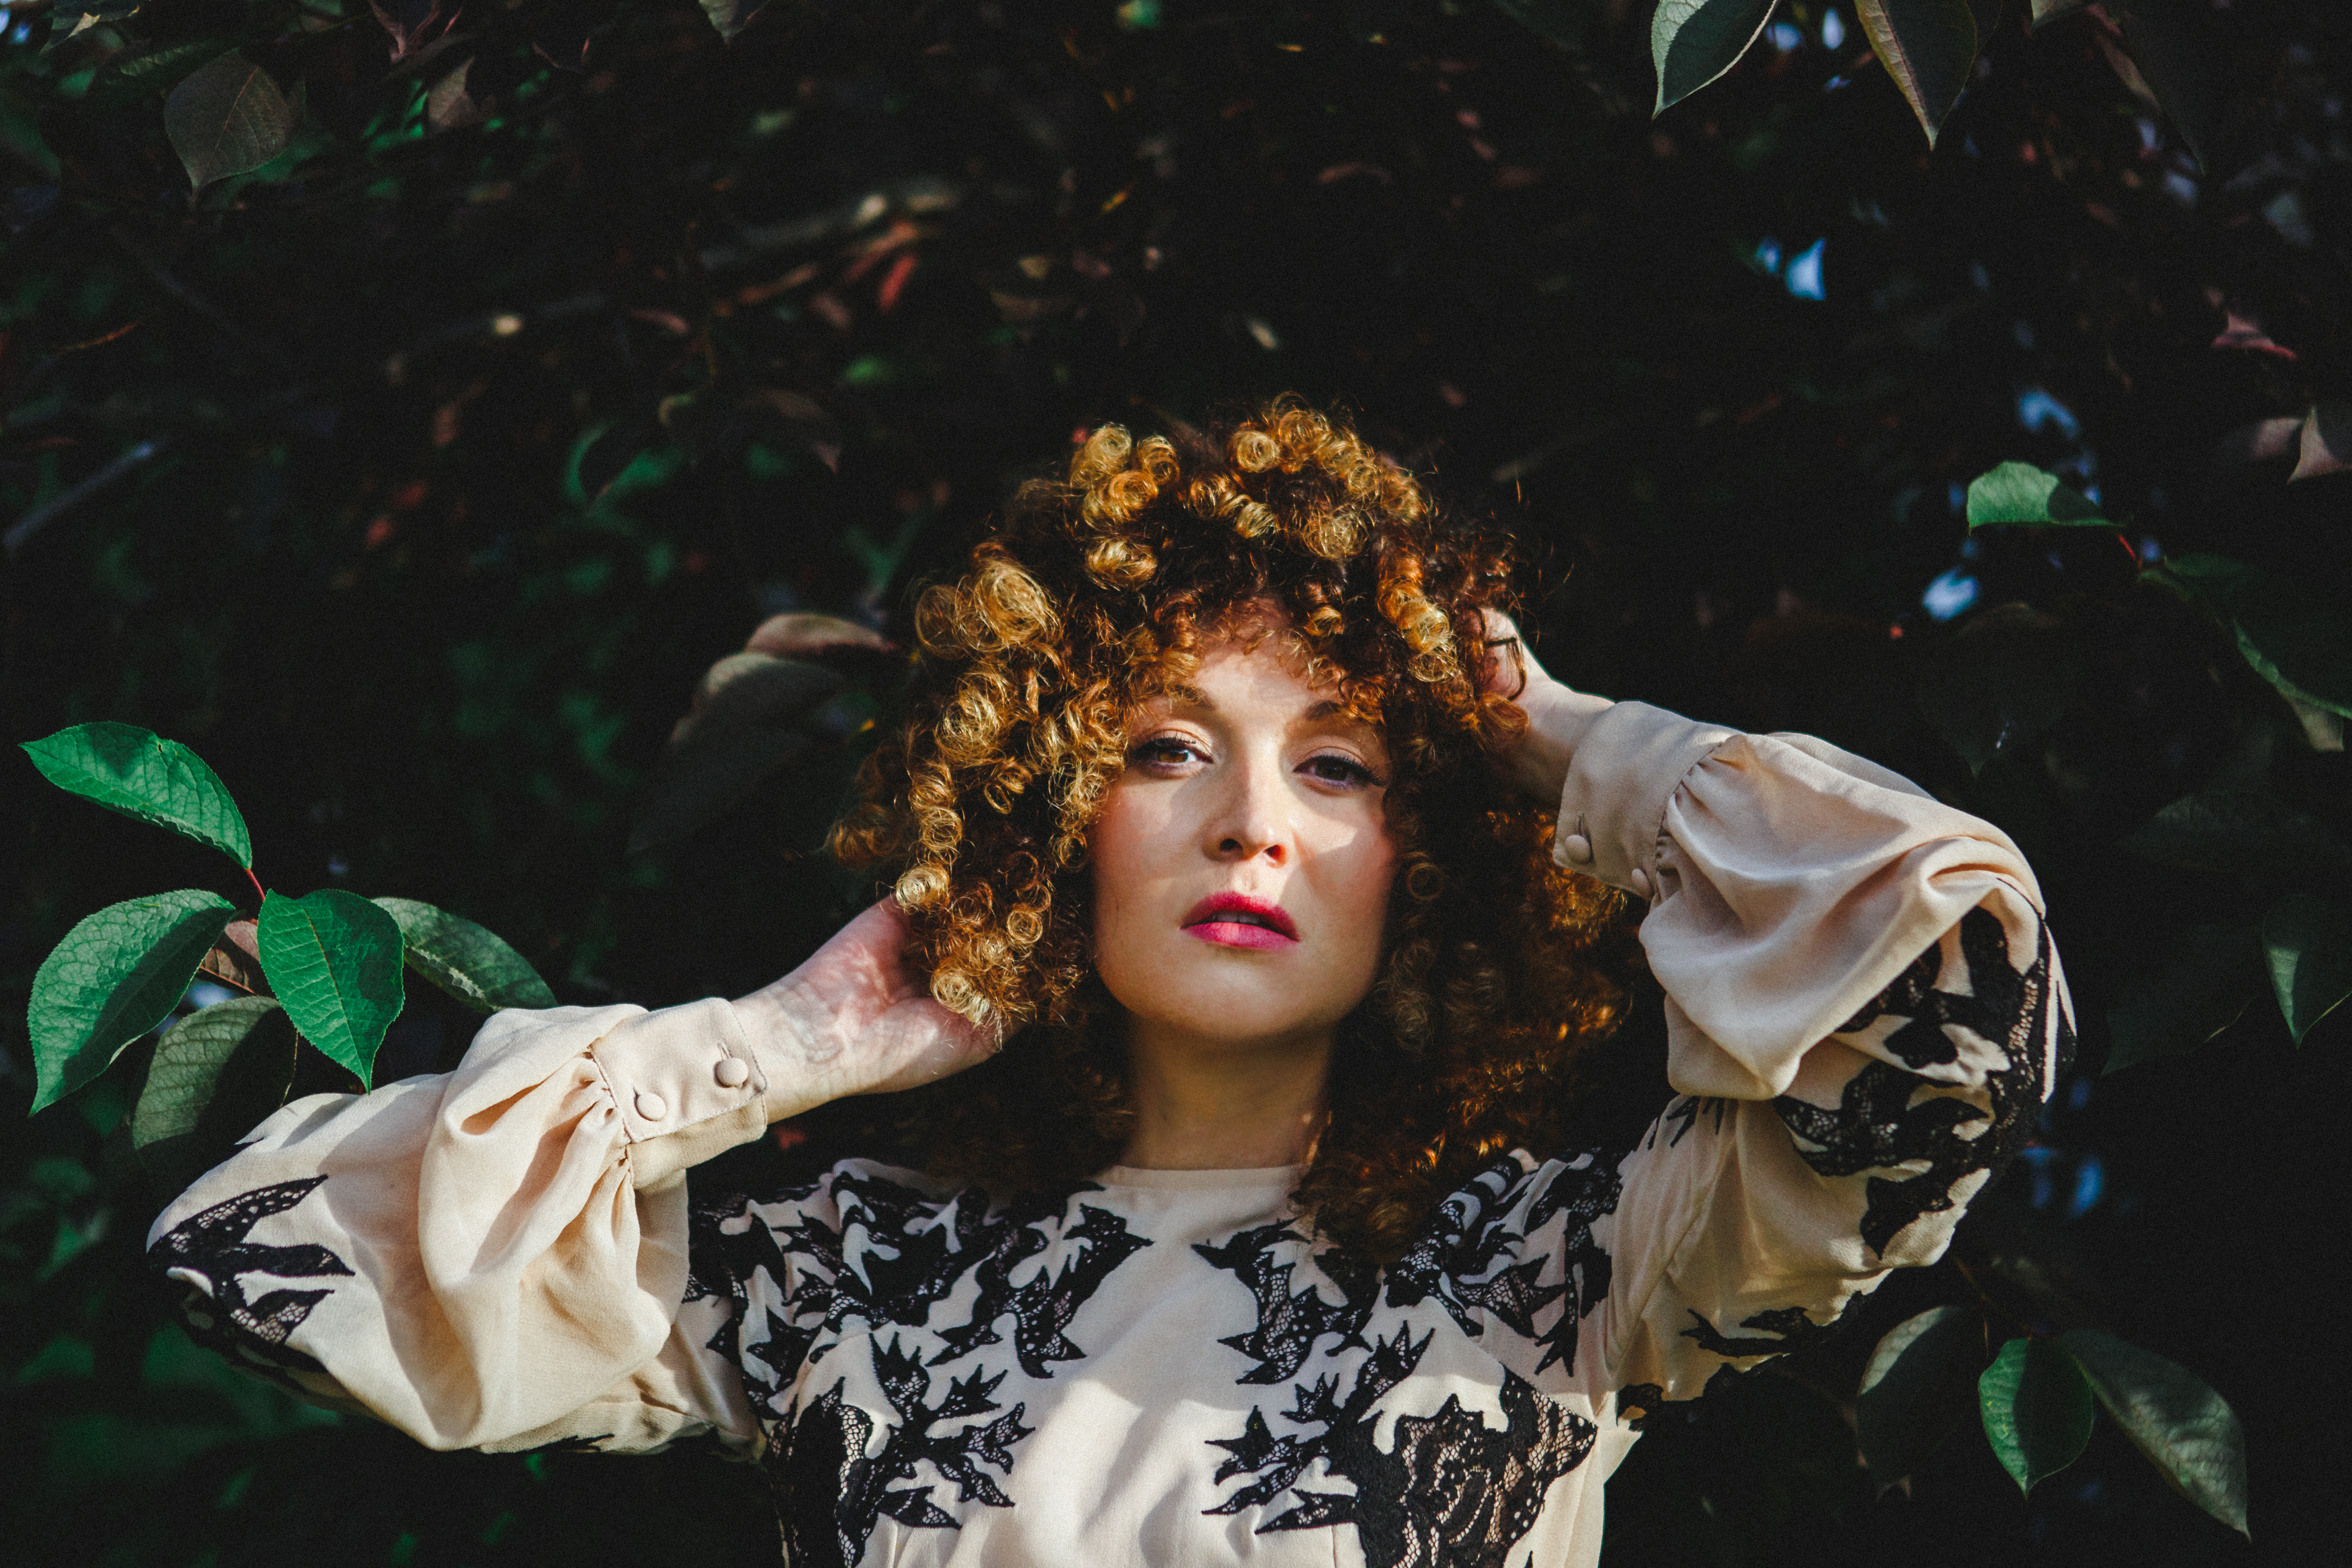
6. Take the bottom ones out first and unravel them down instead of pull them so they don’t get tangled. Then pull each peice apart into small strands to give it volume and individual curls.
My hair didn’t need hairspray or anything it was just huge and amazing, but you can use bobby pins to pin chunks in certain places that look uneaven or didn’t curl as well, especially after day one. This style lasts for several days and is really hard to get out. DO NOT ATTEMPT TO BRUSH IT. Make sure you deep condition it before you shower and then plan on conditioning it several times in the shower. I didn’t notice any damage after I washed and I was careful when I combed it after the shower so it worked out amazingly.